
What is ZeroConfig?
Celiveo ZeroConfig allows you to create Printer Configuration Profiles to deploy on multiple printers without having to synchronize them.
ZeroConfig installation for Celiveo Smart Appliance
Add a ZeroConfig Profile in Web Admin
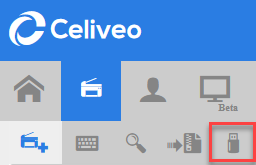
- In the Add Printer section, click the ZeroConfig button. Then click the Add button.
![]()
![]()


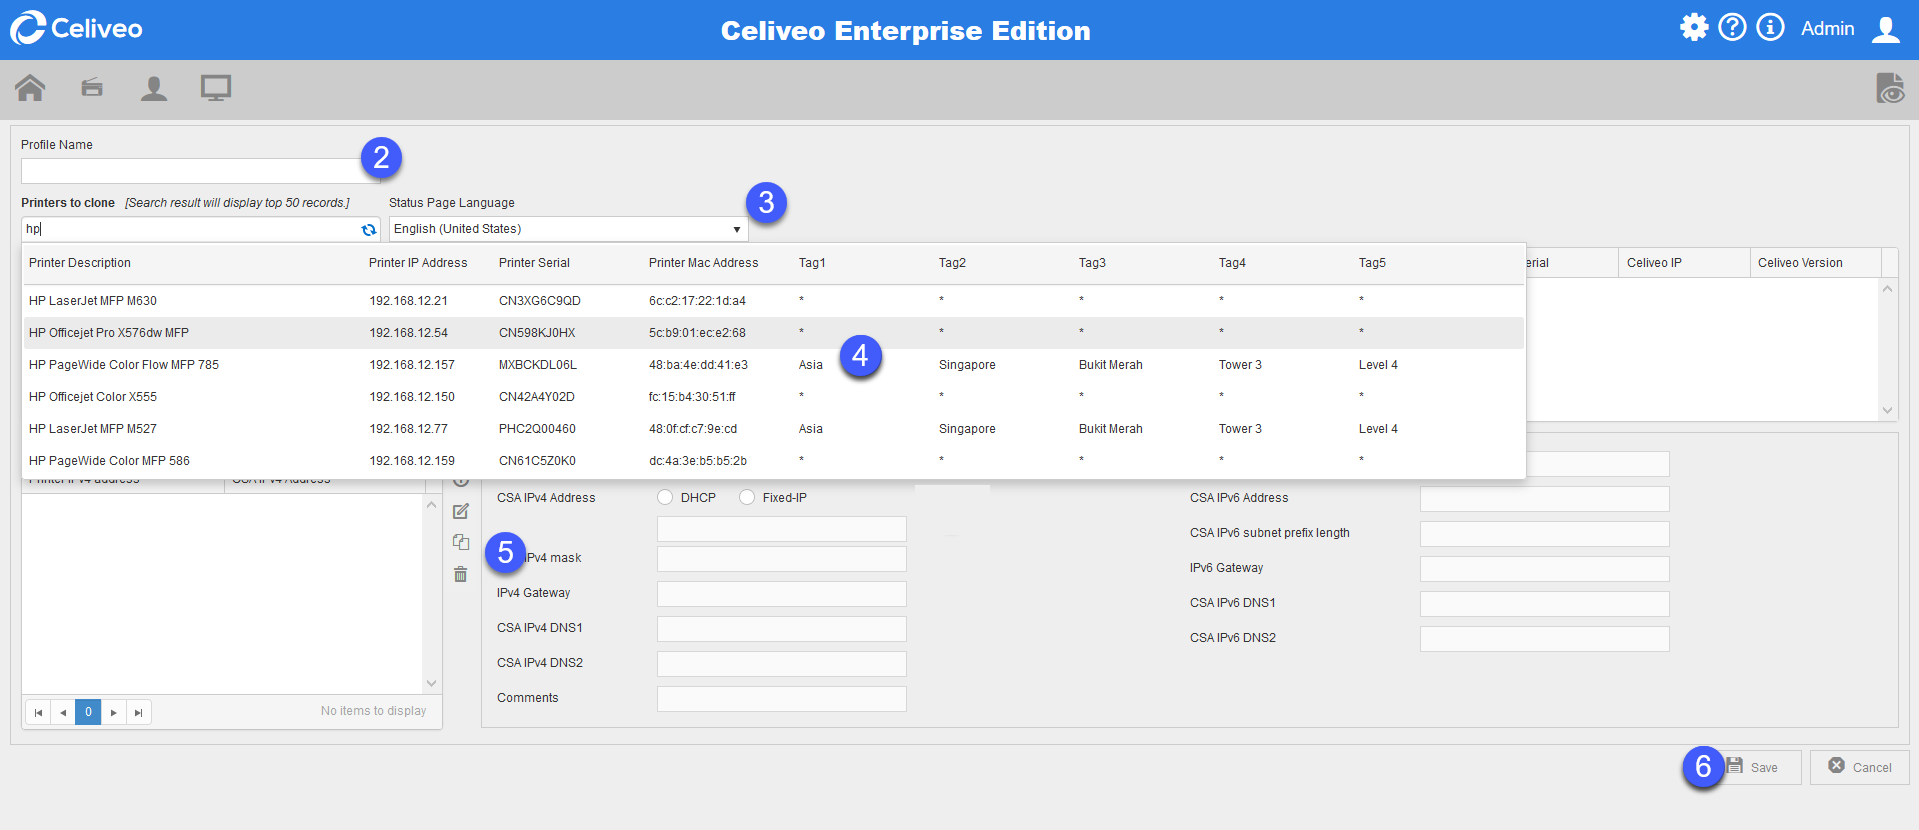
- Enter a profile name.
- In the Status Page Language drop down-list, select the language of the CSA Status Page to display.
- In Printers to clone, select the master printers to use as a reference.
- Add
![]() or import
or import ![]() IP Profiles.
IP Profiles. - Click Save to save the configuration profile.
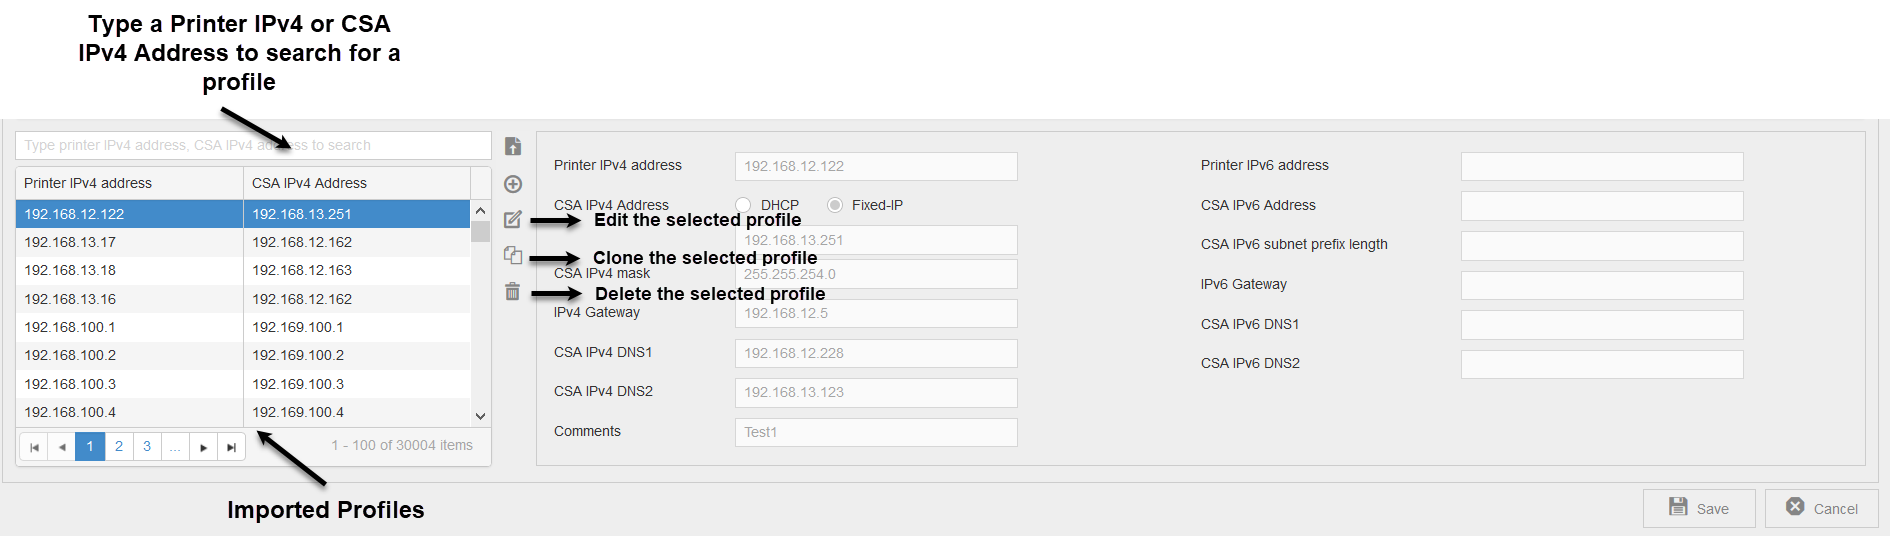
Create or import an IP Profile
Create a new Profile
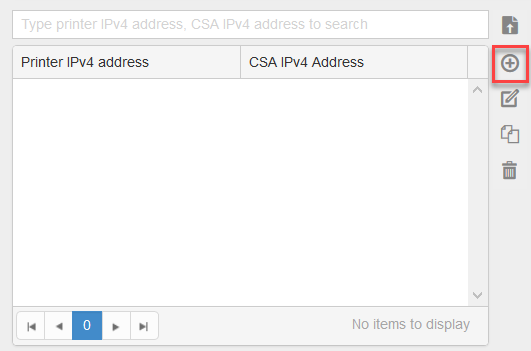
To create a new profile, click the + button
- Select the type of CSA IPv4 Address.
- Enter the details.
- Click the Add
![]() button to save the new profile.
button to save the new profile.
Import IP Profiles
It is possible to import a CSV file containing a list of IP Profiles. To do so:
- Click the Import
![]() button.
button. - Select your CSV file and click Open.
The imported profiles appear on the left.
Download the Configuration Profile
- Select the profile.
- Click the Download ZeroConfig Package icon
![]() .
.
Deploy the Configuration Package
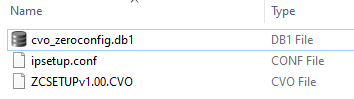
- Unzip the downloaded package. It contains the following files:
![]()
- Copy the files to a USB drive.
- Power off the CSA and connect the USB drive.
- Power on the CSA. Once the process is successful:
- A print out from the printer saying that the zero config is successful is sent.
- The Web Admin now contains a new record for the printer with synchronization successful status.
Note: if the CSA is not listed in the Update directory on the USB drive, then it will be updated, even if the CSA firmware is the same as the one on the USB drive.
ZeroConfig installation for HP FutureSmart Printers.
Prerequisites
Important Note:
- The new printer must have the same EWS username and password as the master printer.
- The supported HP firmware is FutureSmart 4.7.3.1 or later.
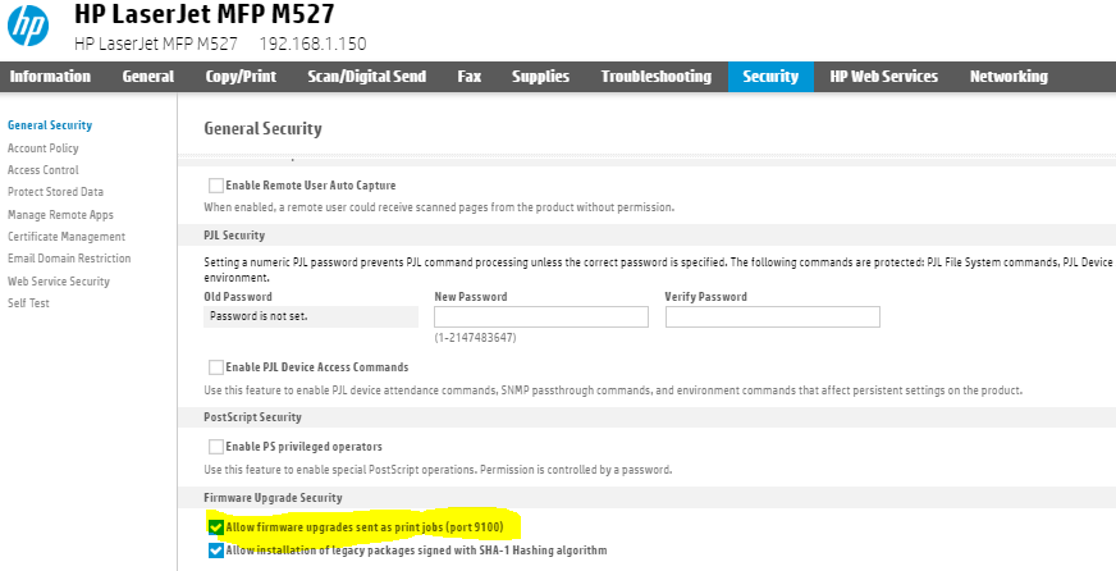
If you are using HP firmware FutureSmart 4.10 or later, please enable the below setting via EWS:
Navigate to Security and enable the Allow firmware upgrade sent as print job (port 9100).
Preparing a master printer for ZeroConfig installation
Define an HP Future Smart printer as master printer in the Web Admin. The master printer model should match the printer which will be installed by ZeroConfig.
E.g. the master printer for an HP Color LaserJet MFP M553 should be an HP LaserJet M553.
- In the printer settings of the master printer, enable the Celiveo Pull Print checkbox and select the latest .mh file.
![]()

Add a ZeroConfig Profile in Web Admin
- Click the Add
![]() button.
button.
![]()
- Enter a profile name.
- In the Status Page Language drop down-list, select the language of the Status Page to display.
- In Printers to clone, select the master printers to use as a reference.
- Add
![]() or import
or import ![]() IP Profiles. To learn more about IP Profiles, see above.
IP Profiles. To learn more about IP Profiles, see above. - Click Save to save the configuration profile.
Download the Configuration Profile
- Select the profile.
- Click the Download ZeroConfig Package icon
![]() .
.
Install the Celiveo Solution by ZeroConfig
- Turn off the printer and insert the USB drive to the printer USB port.
- Turn on the printer to install Celiveo Solution by ZeroConfig. The process for installing the solution can take up to 15 minutes.
Important Note:
Please make sure that new printers have the same EWS username and password as the master printer.
- Once the process is done, a printout from the printer saying that the ZeroConfig is successful is sent. It might take some time (up to 1 minute) to have the Celiveo Solution on the Printer Panel. If it is synchronized successfully, the new printer appears in the Web Admin.
Post your comment on this topic.