Enable Smart card Authentication for Printers
You enable Smart card authentication by creating an Access Control Rule and assigning the rule to a printer. You however cannot assign an Access Control Rule directly to a printer. Instead, you create an Access & Rules Profile for a printer and add the Access Control Rule to the Access & Rules Profile.
Workflow
1. Add a New Access & Rules Profile to a Printer
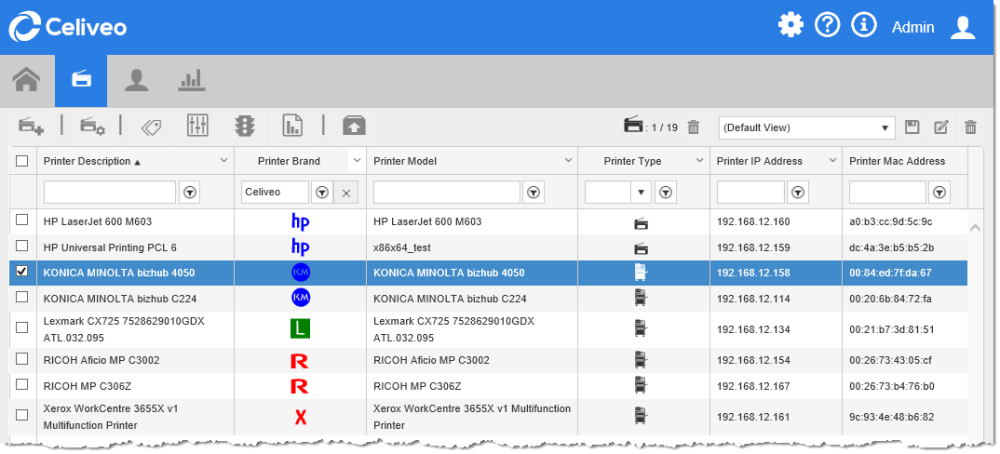
- Select the printer to add the Access and Rules Profile to.
- Click
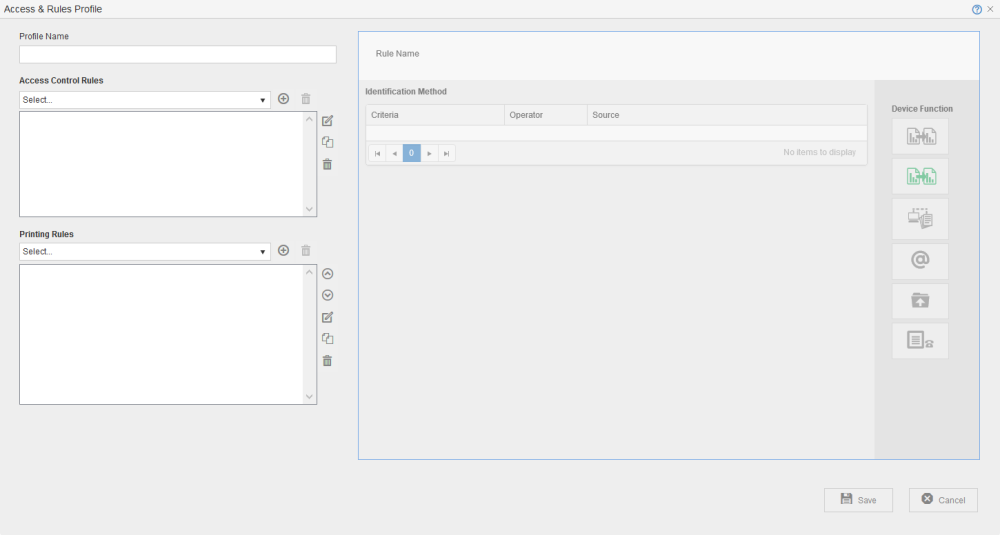
. The Access & Rules dialog is displayed.
- Click
. The Access and Rules profile is displayed.
- At [Profile Name], specify a unique name for the Access & Rules Profile.
2. Add a New Access Control Rule to the Access and Rules Profile
- Click
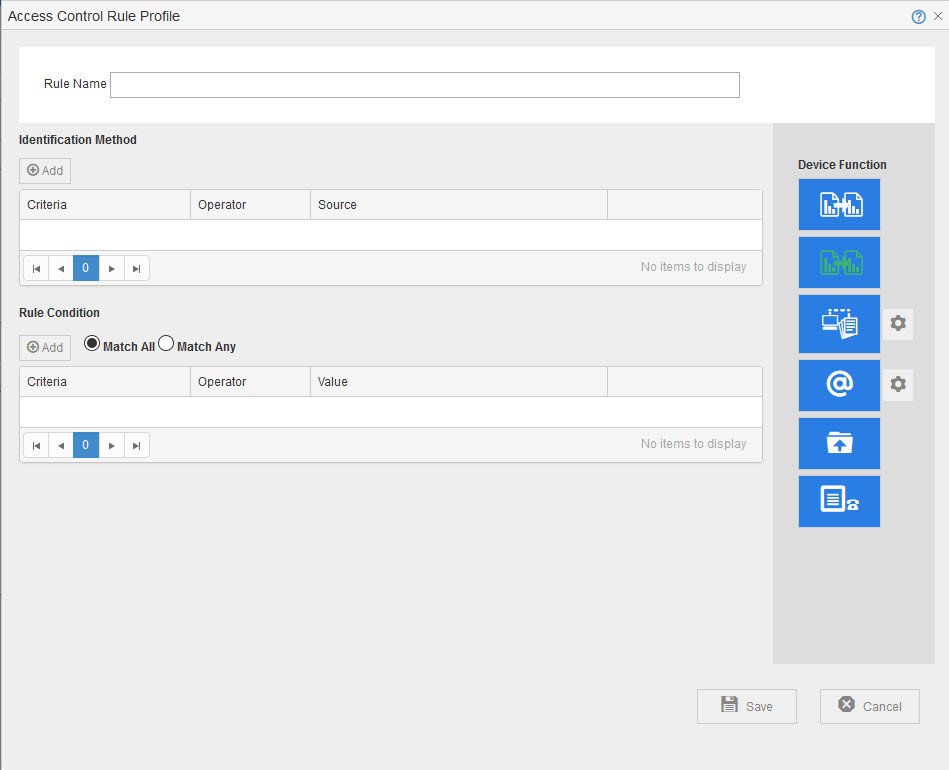
, located in the same row as the [Access Control Rules] drop-down. The Access & Rules Profile displays.
- At [Rule Name], specify a unique name for the Access Control Rule.
3. Add Smart card Authentication as the Identification Method
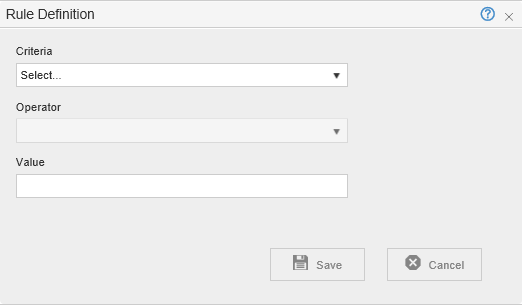
- Click [Add], located below [Identification Method]. The Rule Definition displays.
- From the [Criteria] drop-down, select [UPN in Smartcard Cert].
- From the [Operator] drop-down, select [Is In].
NOTE:
- A Smartcard license feature connector is required to use [UPN In Smartcard Certification]
- [UPN In Smartcard Certification] identification method can be combined with [Username and Password]
- [UPN In Smartcard Certification] identification method cannot be used with the [Celiveo Authentication Gateway] authentication method.
4. Build the Authentication Profile to Validate the Smart card
- Click
, located next to the [Source] drop-down. The Authentication Source Profile displays.
- In the [Profile Name] box, specify a unique name to identify the profile.
- Click
, located in the same row as the [Authentication Profile] drop-down. The Authentication Profile is displayed.
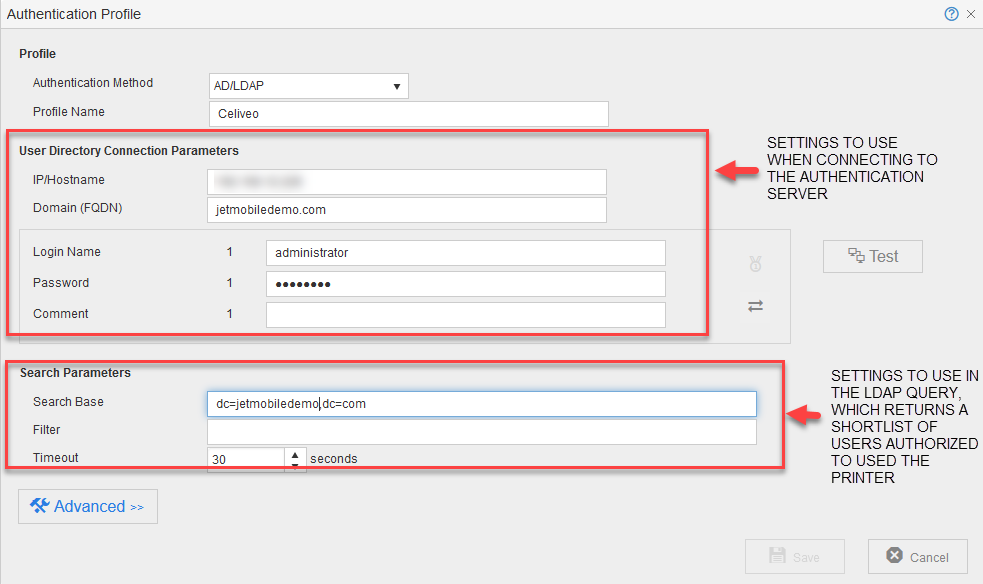
- Specify the AD/LDAP query (similar to that of the screen capture shown below) that returns the list of users who are authorized to use the printer.
- Click [Test].
If log in to the Authentication Server is successful, a message is displayed below the [Test] button. - Click [Save]. You are returned to the Authentication Source Profile.
5. Specify How to Process Smart card
- Under [Smart card] section, click [Upload Smart card configuration File] to upload a SCAS file.
- Click [Card Validation].
- Click the settings icon next to [Card Validation] to configure the Card Validation settings.
You can select any of the validation methods:- Pin Code: You will be prompted to enter a pin code after inserting the Smart card into the reader.
- Certificate Expiration Date: The Smart card is verified using the Certificate expiration date.
- Certificate KeyPair Validation: The Smart card is verified using the Certificate Keypair.
- Certificate Authority: The Smart card is verified using the Certificate Authority file. You can add multiple certificate authority files for card validation. Select a file in the drop-down list or click the + icon next to the drop menu to add a new certificate authority file.
- CRL: The Smart card is verified using the Certificate Revocation List (CRL). You can only use one CRL file for card validation. Select a file in the drop-down list or click the + icon next to the drop menu to add a new CRL file.
- Select [High Availability] option, to configure the settings that determine how to manage authentication when the printer cannot connect to the organization network.
- Click [Save] until all dialogs close.
6. Enable Smart card Authentication for Remaining Printers
- In the Printers List, select the printers you want to apply the Access and Rules Profile to.
- Click
. The Access & Rules dialog is displayed.
- From the [Access & Rules Profile] drop-down, select the Access and Rules profile for the Printer.
Last modified:
8 September 2020






Post your comment on this topic.