What is a macOS Celiveo Virtual Printer (CVP)? ![]()
![]()
The macOS CVP is a module that is deployed on a user’s macOS enabled device, macOS supported versions., so that they can perform serverless pull print and release print jobs on Celiveo enabled-printers. On the Web Admin, you add a macOS Celiveo Virtual Printer (MCVP) and generate a deployment package. Later on, you use the deployment package to install the CVP macOS enabled device.
1. Start the Add Virtual Printer Wizard
- At the Main menu, click on Printers
.
- At the Printer menu, click Add Virtual Printer
to start the Virtual Printer Wizard.
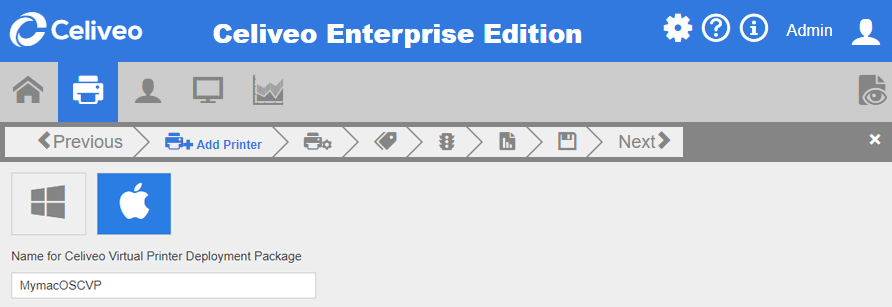
- Chose macOS Icon and define a macOS Celiveo Windows Virtual Printer name that will be shown in the deployed print queues for end-users.
2. Specify Virtual Printer Options
- Specify a name for the macOS CVP deployment package. After you add the macOS Celiveo Windows Virtual Printer, you can download the deployment package and install it on macOS enabled device.
- Click [Next]. The next page displays.
- At [Revision], enter a version number for the deployment package.
- At [Revision Comment], enter any information that may be useful for the users. This field is also used to enable dynamic IP Address change:
- You can choose either the Local (HDD of user macOS device) or Remote server to store the print jobs.
2.1 To store print jobs on local drive:
- Click
icon to store print jobs on local (user workstation) hard disk.
- Path – Enter the directory location in which the user jobs are to be stored, if you need to change the default storage location set.
- Quota per User/ Department (MB) – indicates the quota for a user or department on the basis of print job size.
- Quota per User/ Department (Jobs) – indicates the quota for a user or department on the basis of print job count.
- The Notifications
icon allows you to define the message to display when quotas are reached. To do so, click the Configure
button.
- Temporary folder storage path – Enter the directory location where the jobs are to be stored on a temporary basis.
2.2 To store print jobs on a network drive:
- Click
icon to store on remote server.
- At [Domain], enter the domain name of the network drive to store the print jobs.
- At [User name] and [Password], enter the login credentials to the network drive to store the print jobs.
- At [Retry Count], enter the number of attempts to reach the network drive to store the jobs.
- At [Retry timer], enter the time interval (seconds) between each attempt to reach the network drive.
- Path -Enter the directory location in which the user jobs are to be stored. Ensure that the user has read/write access permissions on the shared network folder.
| CVP (Client station mode) Configuration |
|---|
 |
|
NOTE: When the NAS is not reachable upon Shutdown of the macOS device, the print jobs are retained on client macOS device default jobs location.
Last modified:
14 June 2024


Post your comment on this topic.