Before you begin…
1. Pre-installation requirements
On the macOS client machine, make sure the minimum system requirements for installation are met.
2. Export the settings configuration file
The CVP Installer package for macOS contains the following folder and files:
- Printer Setup – Folder containing configuration files and Print Queue creation scripts
- Celiveo Server Services-8.4.pkg – Install file
- Celiveo Server Services-8.4-uninstall.pkg – Uninstall file
- installer.sh – Silent install script
- settings.plist – Configuration file for logging and database
2. Manually install the macOS Virtual Printer on macOS machine
To install :
- Copy the Celiveo Virtual Printer Deployment Package to a temporary folder on the user’s machine.
- Right-click the Deployment Package. A menu displays.
- Click [Extract All].
- Select a temporary folder to extract the files to, and click [Extract].
- Replace the existing Settings file with the exported one onto this folder.
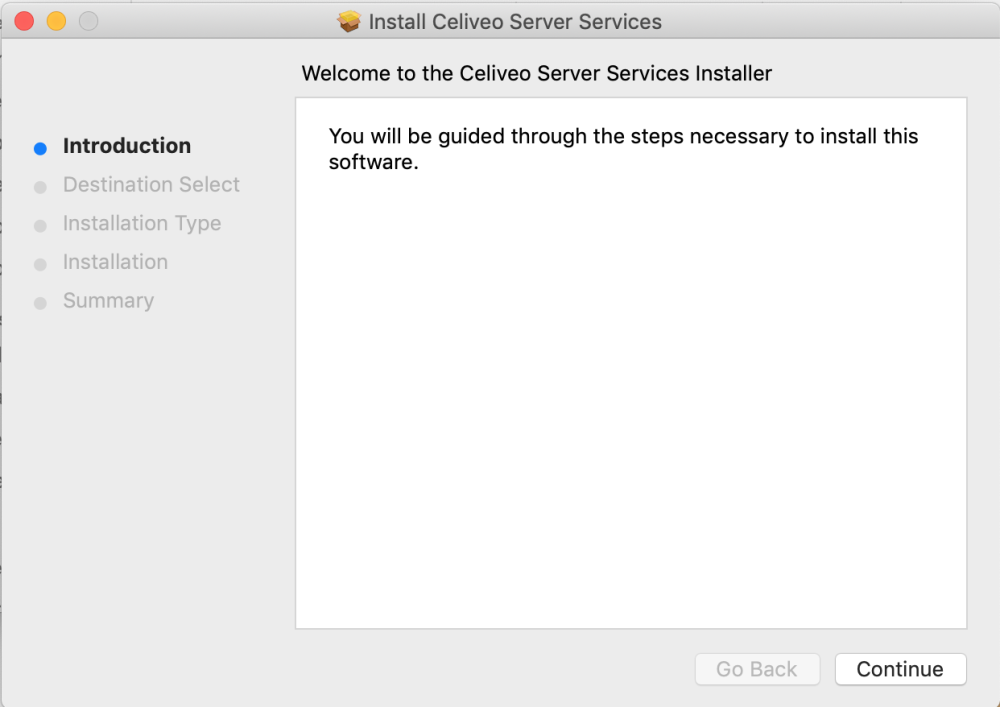
- Double-click [Installer] to start the installation wizard.
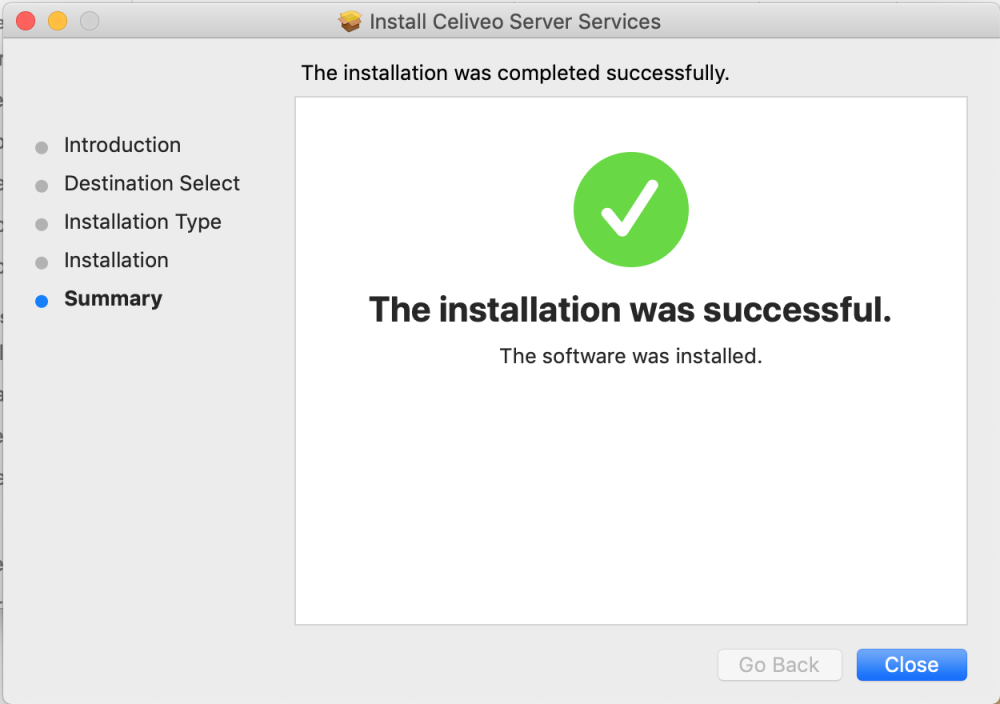
- Continue with the instructions given on the installation wizard till the installation is successful.
3. Create a pull print queue on macOS machine
Follow the below steps to add a print queue to macOS machine:
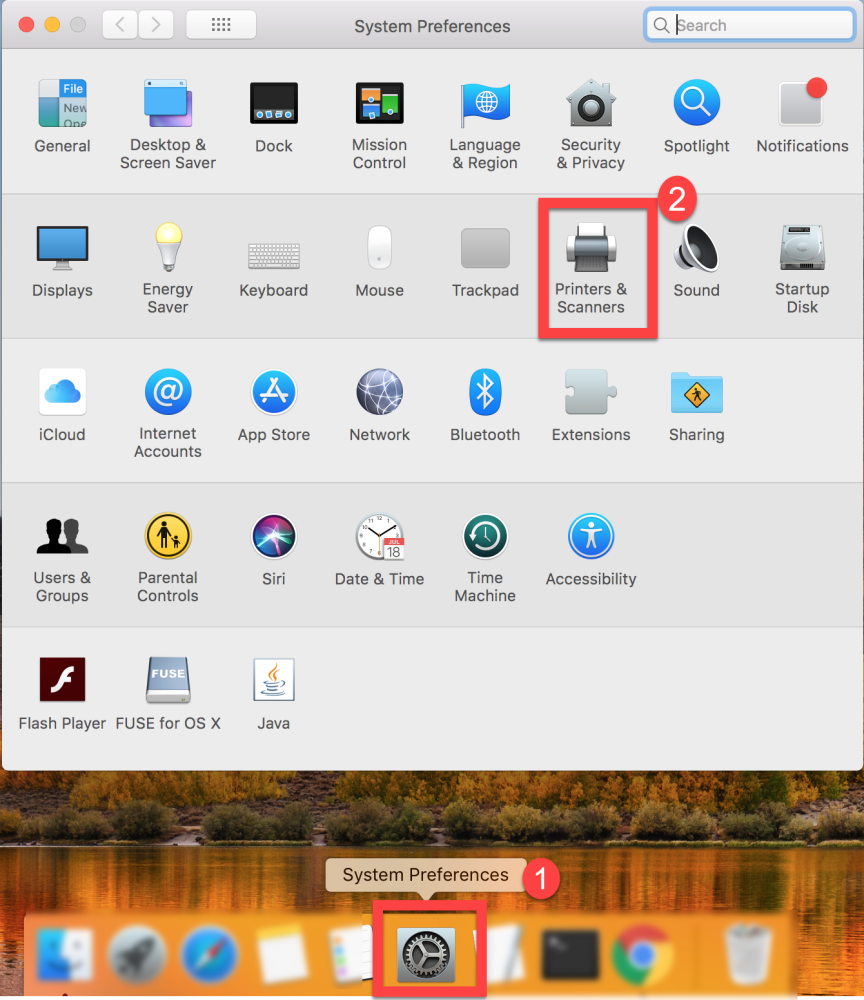
- In your Mac machine, go to System Preference.
- Click Printers and Scanners.
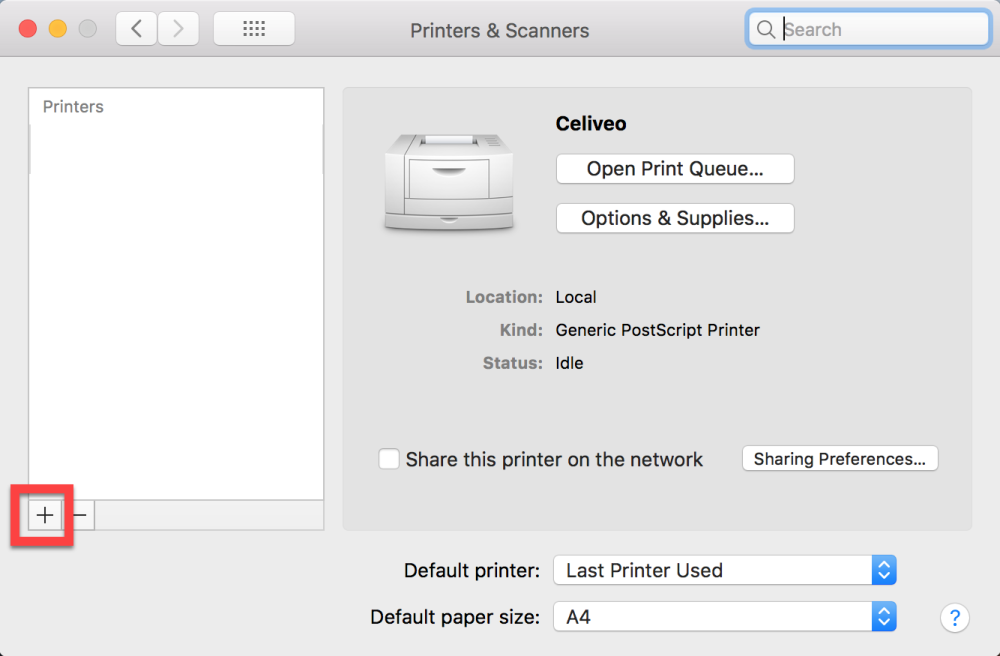
- Click the [+] sign to add new printer.
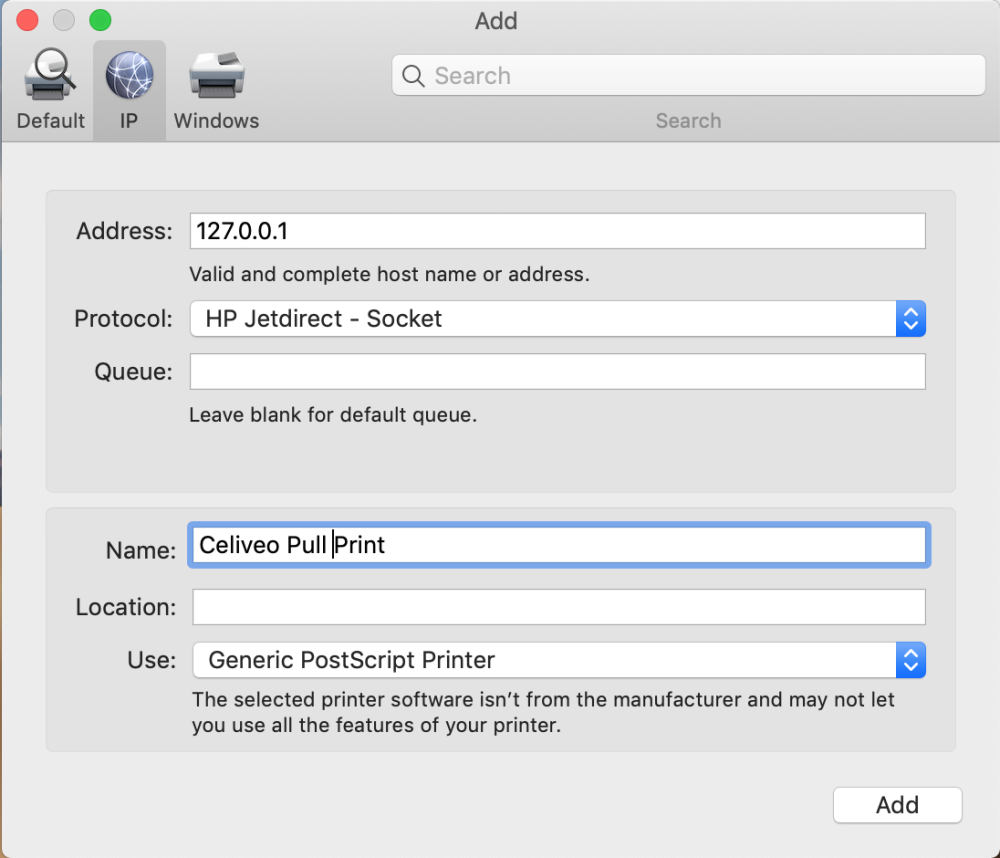
- Go to IP tab and fill the settings as shown in the screenshot below.
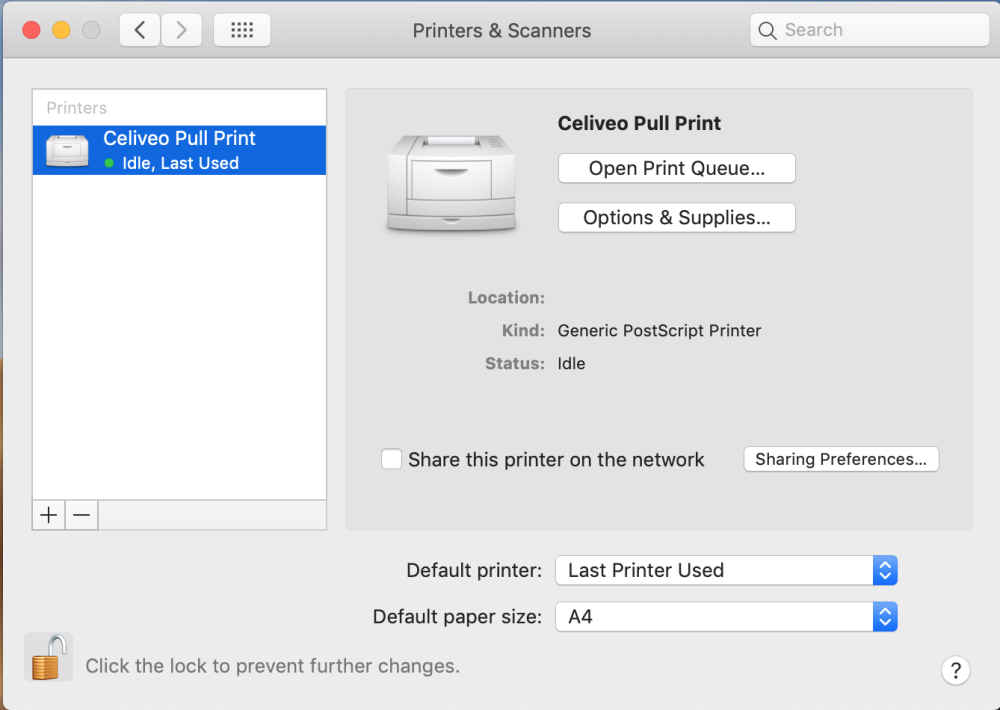
- Then, click Add.
- The Celiveo pull print queue is now added.
Uninstall the Celiveo Virtual Printer from macOS machine
Celiveo Virtual Printer can be removed using the Uninstall executable file provided in the deployment package.
- On the user machine, launch the [Uninstall]. The installation wizard opens up.
- Continue with the instructions given on the installation wizard till the un-installation is successful.
All binaries will be removed from the Install folder.
Last modified:
3 March 2025


Post your comment on this topic.