
Pre-requisites/Limitations/Known Issues
1. CSS Server needs to be up to date to properly support TLS 1.2 for .NET 3.5.
2. Once Celiveo 8 is configured for SAP, SAP jobs cannot be printed using the printers with legacy embedded. Therefore, make sure that there are no jobs left to be printed before the SAP migration.
3. The maximum character limit which can be used for the SAP print queue is 44 characters. This includes the CSVP name + Driver name.
4. Only the following special characters are supported for the print queue: ~ ! @ # % ^ _ ( ) + ` – = { } [ ] ; .
5. If SQL Enrollment is involved, the Enrollment table migration needs to be done at the beginning of the process.
6. MachineName in tracking data for SAP jobs will be the SAP System ID.
7. SAP profiles need to be reconfigured in the SAP utility after each connector installation.
8. The ‘Celiveo Print-ERP Communication Server’ service needs to be restarted after each CSS restart, new CSVP installation, or print queue generation via the CVP context menu.
9. If the ‘Add’ button is disabled upon creating an SAP profile with an empty field in the SAP utility, refresh the browser in order to enable it back.
Steps to follow
1. Install Celiveo 8 on a new server.
2. Install Celiveo Track GreenSaver on the same server.
3. Create a CSVP from the Celiveo 8 Web Admin and download the CSVP package.
4. Unzip and install the CSVP package on the server which is going to be the CSS server.
5. Install Celiveo Print ERP for SAP Unified Print Queue connector on the above CSS server as indicated here.
6. Configure the sapconfig-ui utility as indicated here.
7. Configure the Celiveo BC_XOM Connector (Client Connector) to point to Celiveo 8 server as indicated here.
8. Configure and Download ROMS/Output Devices as indicated here.
9. Upload downloaded ROMS/Output Devices to SAP logon.
10. Sync SAP printers with Celiveo 8 Web Admin using the SAP connector.
Install Celiveo Print ERP for SAP Unified Queue Connector
The Celiveo Print-ERP Unified Print Queue Connector needs to be installed on the CSS server. If the environment does not have TLS1.2, follow the steps in section 5.1.
1. Right-click the Celiveo_Print_ERP_for_SAP_Unified_Print_Queue.exe installer and select Run as administrator.
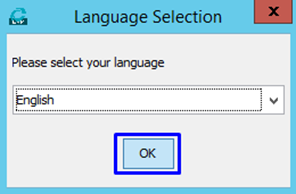
2. Once the extraction is done, select the language and click OK to start the installation wizard.
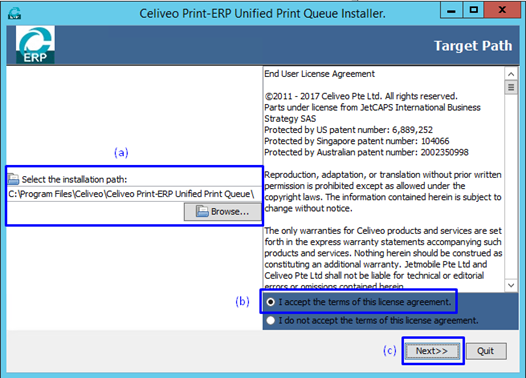
3. The installation wizard will open with the target path details and license agreement details.
a. Select the path to be installed. The default installation path will be C:\Program Files\Celiveo\Celiveo Print-ERP Unified Print Queue.
b. Accept the terms of the license agreement
c. Click Next to proceed with the installation wizard.
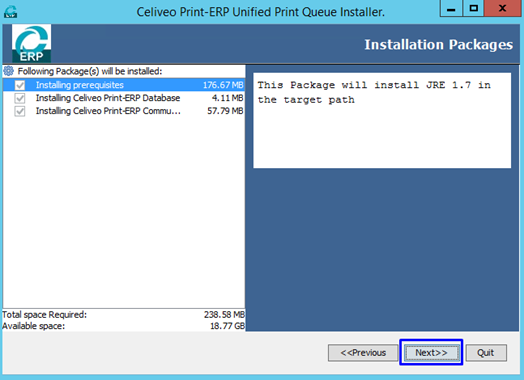
4. Confirm the installation path and click Next to proceed.
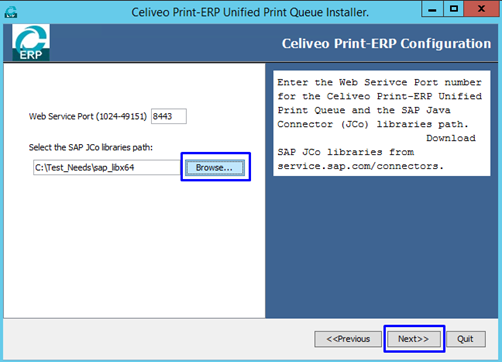
5. Browse the folder which includes Java Connector libraries librfc32.dll, sapjco.jar, sapjcorfc.dll. and click Next to proceed with the installation.
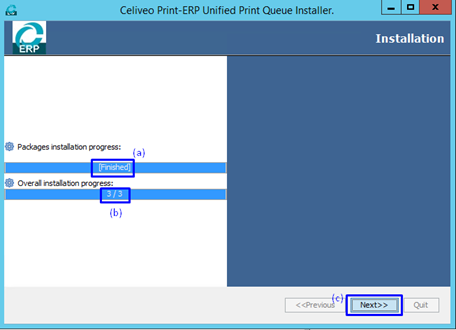
6. Once the installation is completed:
a. The status indicates Finished.
b. The overall installation progress is 3/3.
c. Click Next to complete the installation.
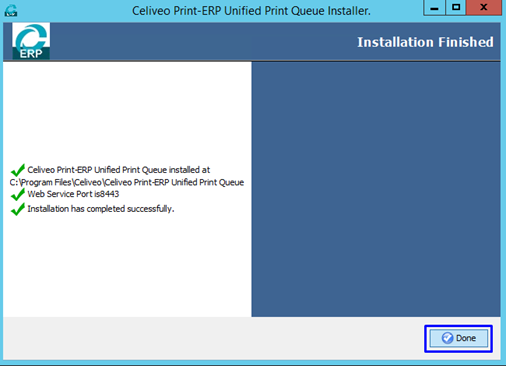
7. The overall status will have green checkmarks. Click Done to close the installation wizard.
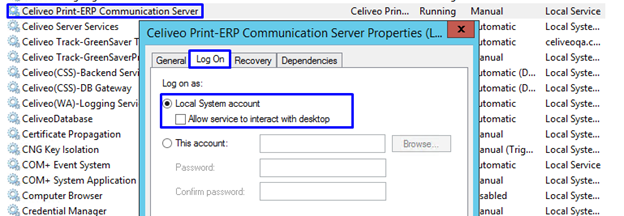
9. Open Windows services and change the Log On user for the Celiveo Print-ERP Communication Server service to Local System account and restart the service.
Install the Celiveo Print ERP for SAP BC-XOM Connector
The Celiveo Print ERP for SAP BC-XOM Connector needs to be installed on the SAP VM.
1. Right-click the Celiveo_Print_ERP_for_SAP_BC-XOM_Connector_Windows.exe installer and select Run as administrator.
2. Once the extraction is done, select the language and click OK to start the installation wizard.

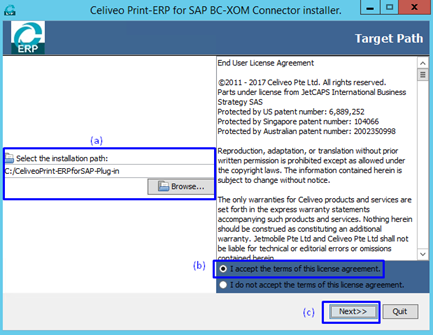
3. The installation wizard will open with the target path details and license agreement details.
a. Select the path to be installed. The default installation path will be C:\CeliveoPrint-ERPforSAP-Plug-in.
b. Accept the terms of the license agreement.
c. Click Next to proceed with the installation wizard.
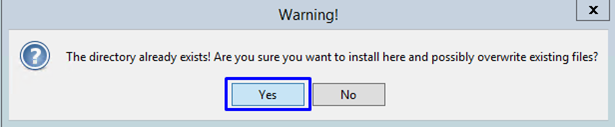
4. If the installation path is the same as in the previous installation, a confirmation message will appear as the root directory is available at the location with the same name. Select Yes to confirm the action. This will install the new application under the same path directory.
5. Click Next to proceed.
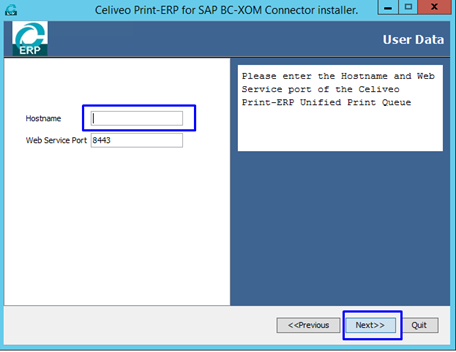
6. Enter the IP Address of the machine where the Celiveo Print-ERP Unified Print Queue is installed and click Next to proceed.
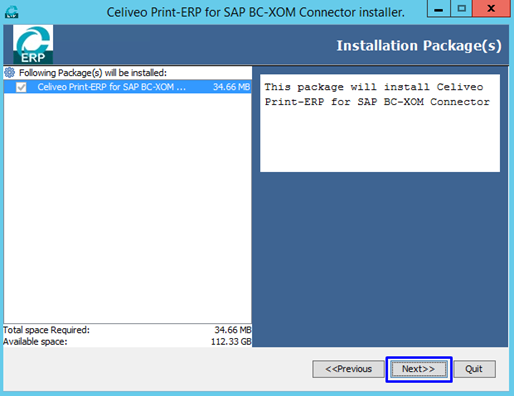
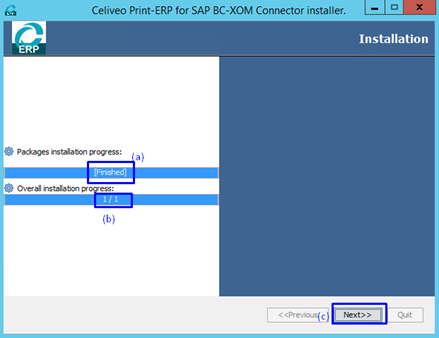
7. Once the installation is completed:
a. The status indicates Finished.
b. The overall installation progress is 1/1.
c. Click Next to complete the installation.
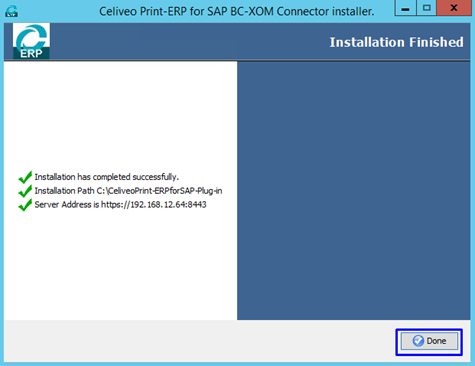
8. The overall status will have green checkmarks. Click Done to close the installation wizard.
Test the server connection using the Celiveo Print ERP for SAP BC-XOM Connector
1. Navigate to the path given during the Celiveo Print ERP for SAP BC-XOM installation.
2. Open the CeliveoPrint-ERPforSAP-Plug-in\bin folder.
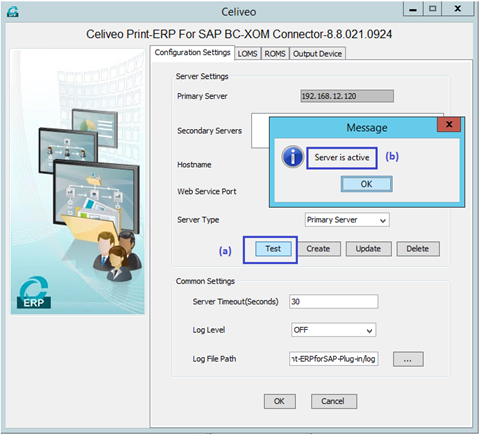
3. Double click the Celiveo Print-ERP BC-XOM for SAP Connector Configuration tool
4. The primary server is filled with the server IP provided during the installation.
5. Click Test to test the server connection.
6. The server status will be Server is active if the server connection is successful.
Export ROMS and Output Devices
1. Go to the ROMS tab and click on the Export button to download the ROMS configurations.

2. Go to the Output Devices tab and click on the Export button to download the Output Device configurations.

Post your comment on this topic.