
The Celiveo macOS CVP is an independent module used to deploy on a user machine using MacOS X that enables the user to print on a Celiveo-enabled printer. This stand-alone deployment package comprises of:
- Install executable file
- Uninstall executable file
- Settings configuration file
- Printer Setup directory (configuration to create pull-print queue name and retrieve printer driver path – this is applicable while performing Silent installation. See this article for instructions on silent installation procedure.)
- Silent Installation script (applicable for silent installation)
Before you begin…
On the macOS client machine, make sure the minimum system requirements for installation are met.
Follow the steps below to deploy a Celiveo Virtual Printer on macOS machine.
- Export the settings configuration file.
- Manually install the CVP on macOS machine.
- Create a pull print queue on macOS machine.
1. Export the settings configuration file
Before you install the Celiveo Virtual Printer on the macOS (client) machine, the database and other configuration details have to be setup in the Settings file present in the deployment package. You have to generate a Settings file which will automatically retrieve the database configuration, and then export this file onto the deployment package.
The Setting file can be generated by following these steps:
Step 1: In Web Admin (Celiveo 8.0.1/ 8.0.2)
- Install the latest version of Celiveo Server Services (CSS). You can refer to this article on how to upgrade CSS.
- Once successfully installed, go to Web Admin application.
- Select the new CSS in the Web Admin and synchronize.
- Now, go to the new CSS Configuration Console and export the macOS settings file.
Step 2 : In Windows CSS/CVP on Client or Server:
- Log into the target machine with Celiveo CSS/CVP.
- Go to CSS directory and then launch the configuration UI (Run as administrator).
- On the [Job Server] tab, click [Save mac configuration] button.
- Validate that Roam Printing contains SQL information, Server connection string, Username/Password (This is the information that will be exported to the file settings.plist that is then used by the macOS CVP installer).
- A popup appears for saving the configuration file. Type file name as “settings” and click [Save].
This retrieves the database configuration automatically and creates settings.plist file on the given path.
![]()
- Export this Settings file onto the macOS machine, where the CVP is to be installed.
- Replace with the existing “settings.plist” file in the deployment package.

2. Manually install the Virtual Printer on macOS machine
To install :
- Copy the Celiveo Virtual Printer Deployment Package to a temporary folder on the user’s machine.
- Right-click the Deployment Package. A menu displays.
- Click [Extract All].
- Select a temporary folder to extract the files to, and click [Extract].
- Replace the existing Settings file with the exported one onto this folder.
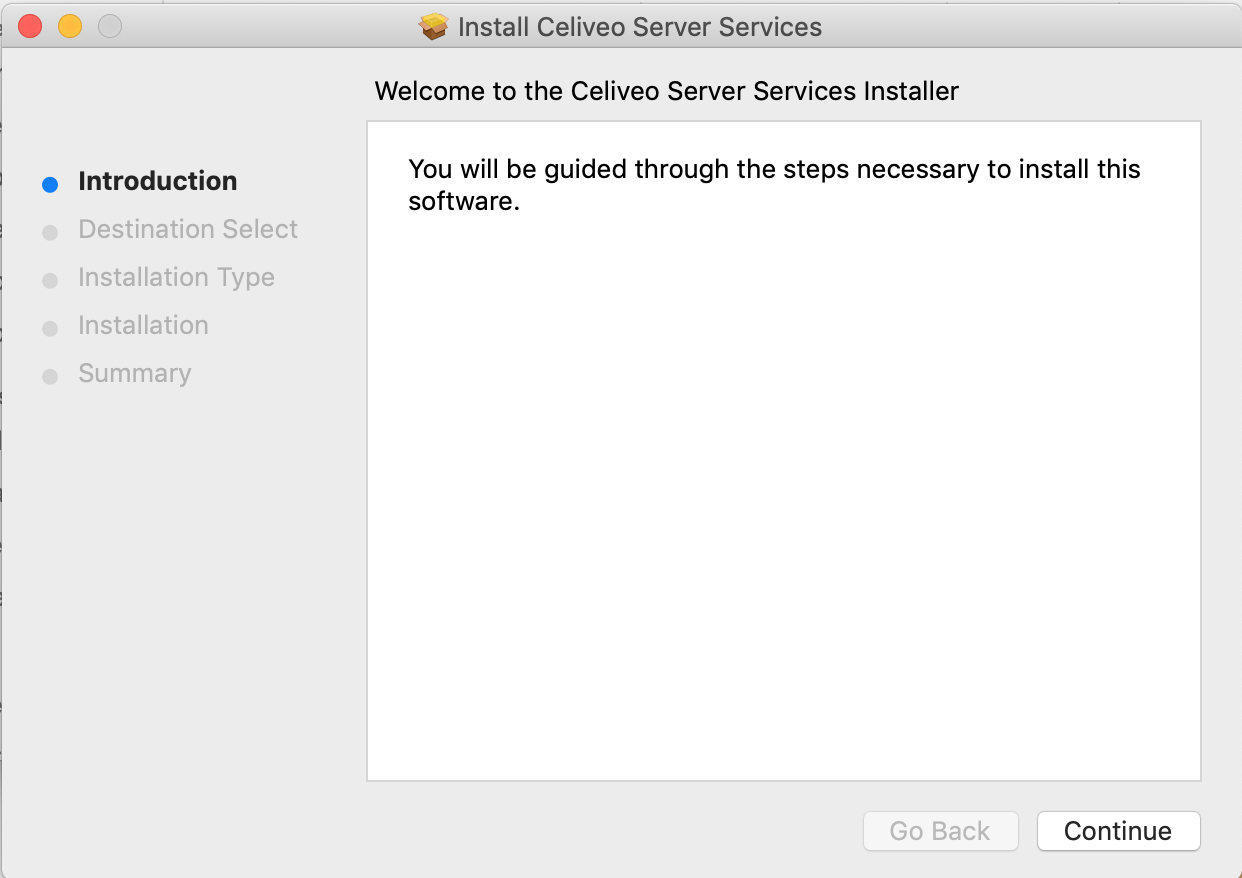
- Double-click [Installer] to start the installation wizard.
![]()
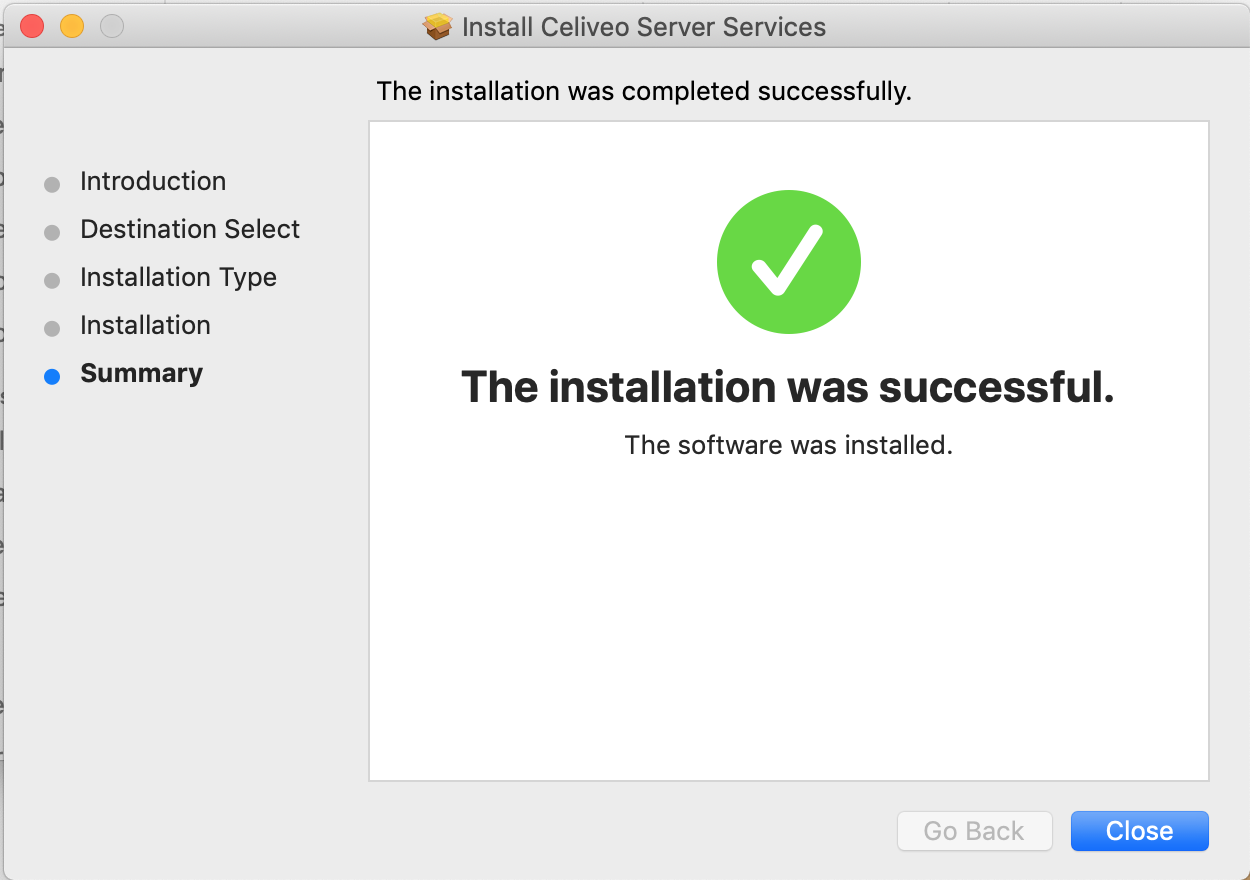
- Continue with the instructions given on the installation wizard till the installation is successful.
![]()
3. Create a pull print queue on macOS machine
Follow the below steps to add a print queue to macOS machine:
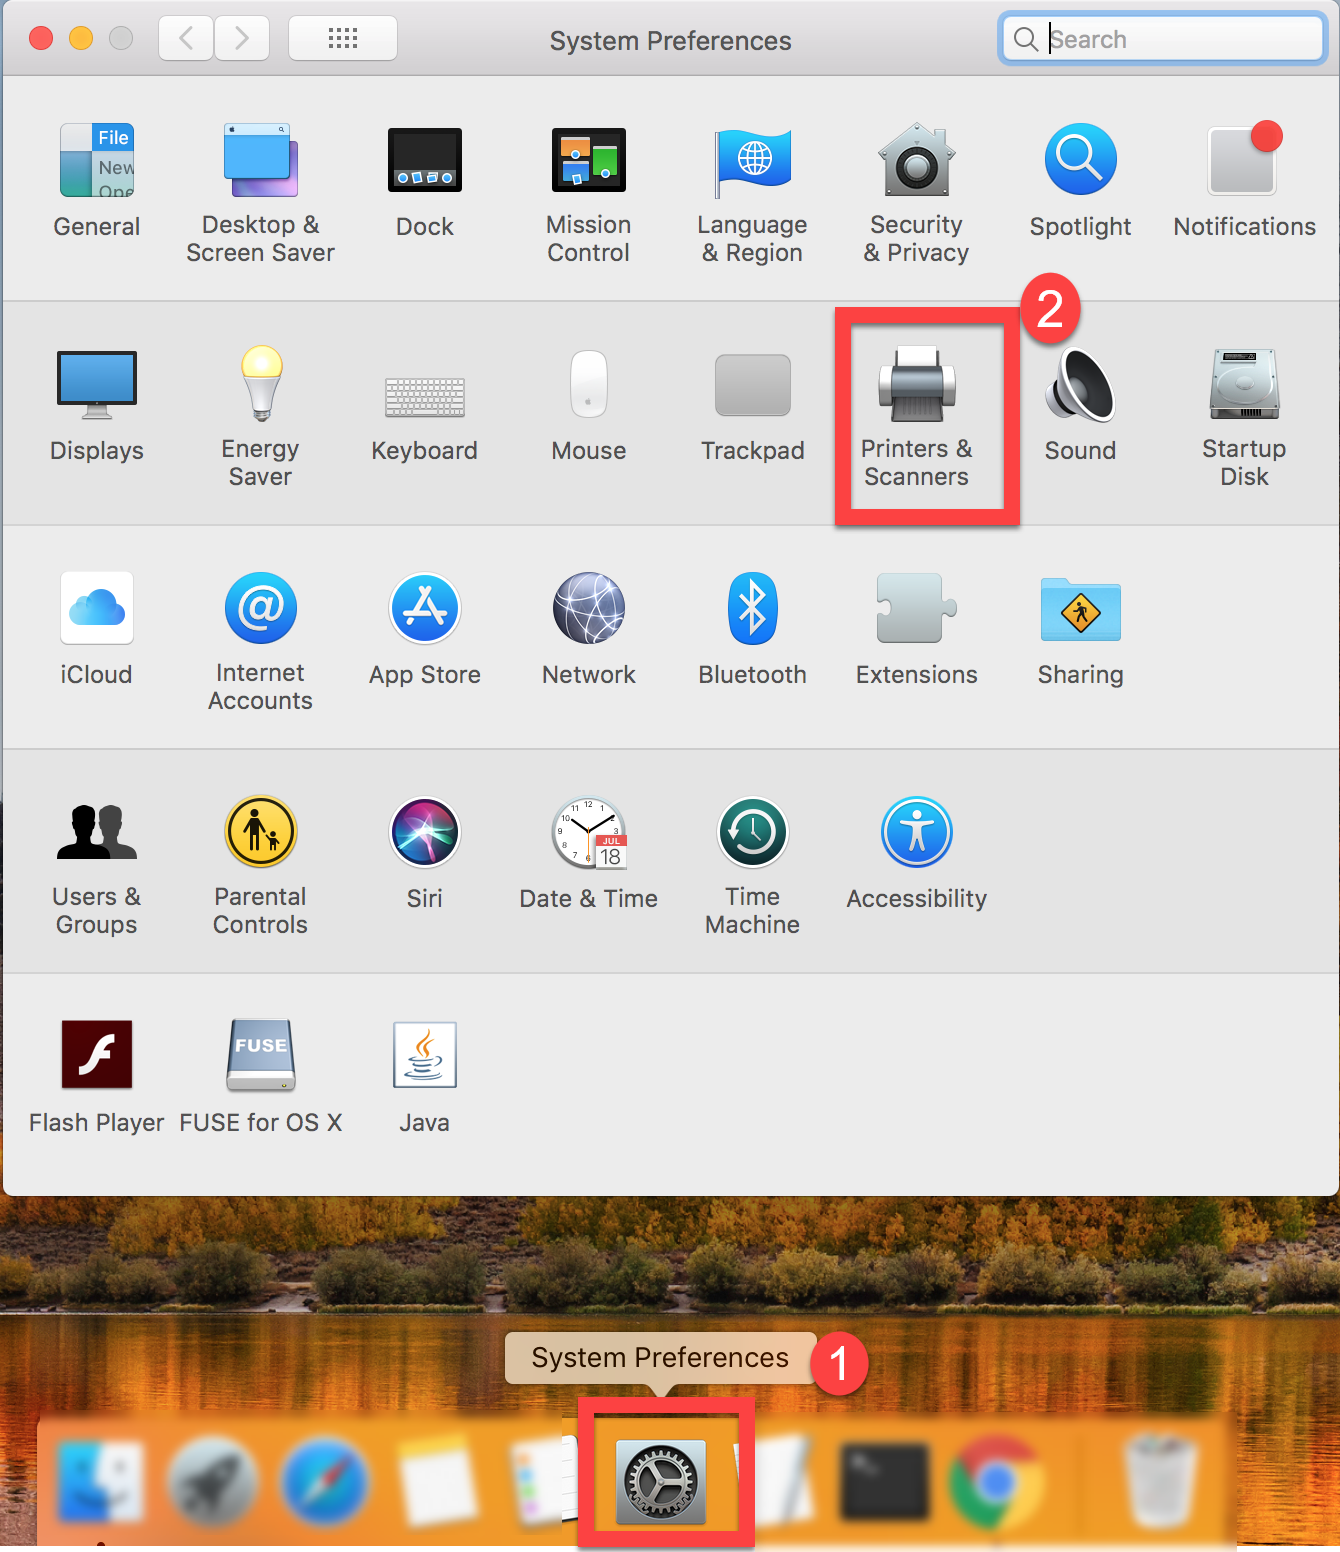
- In your Mac machine, go to System Preference.
- Click Printers and Scanners.
![]()
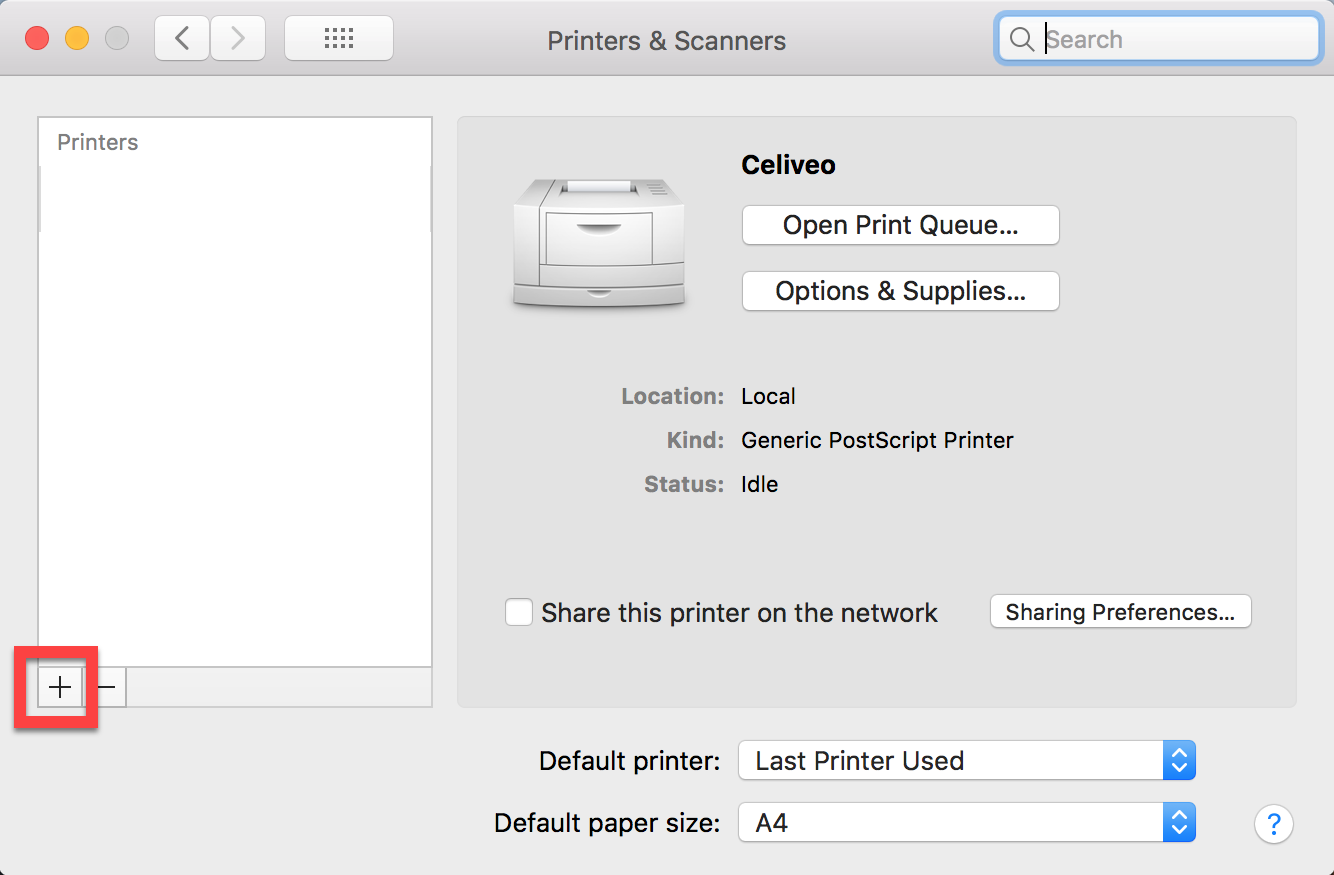
- Click the [+] sign to add new printer.
![]()
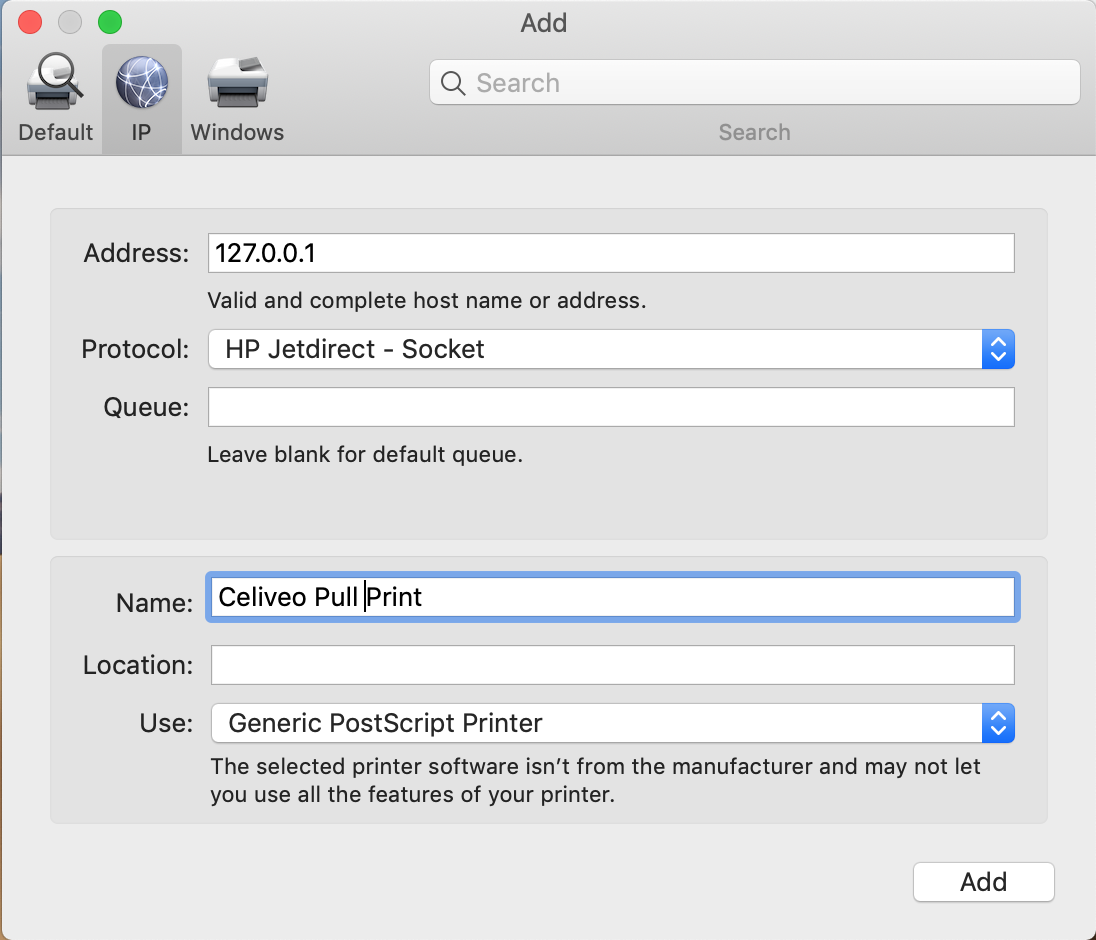
- Go to IP tab and fill the settings as shown in the screenshot below.
![]()
- Then, click Add.
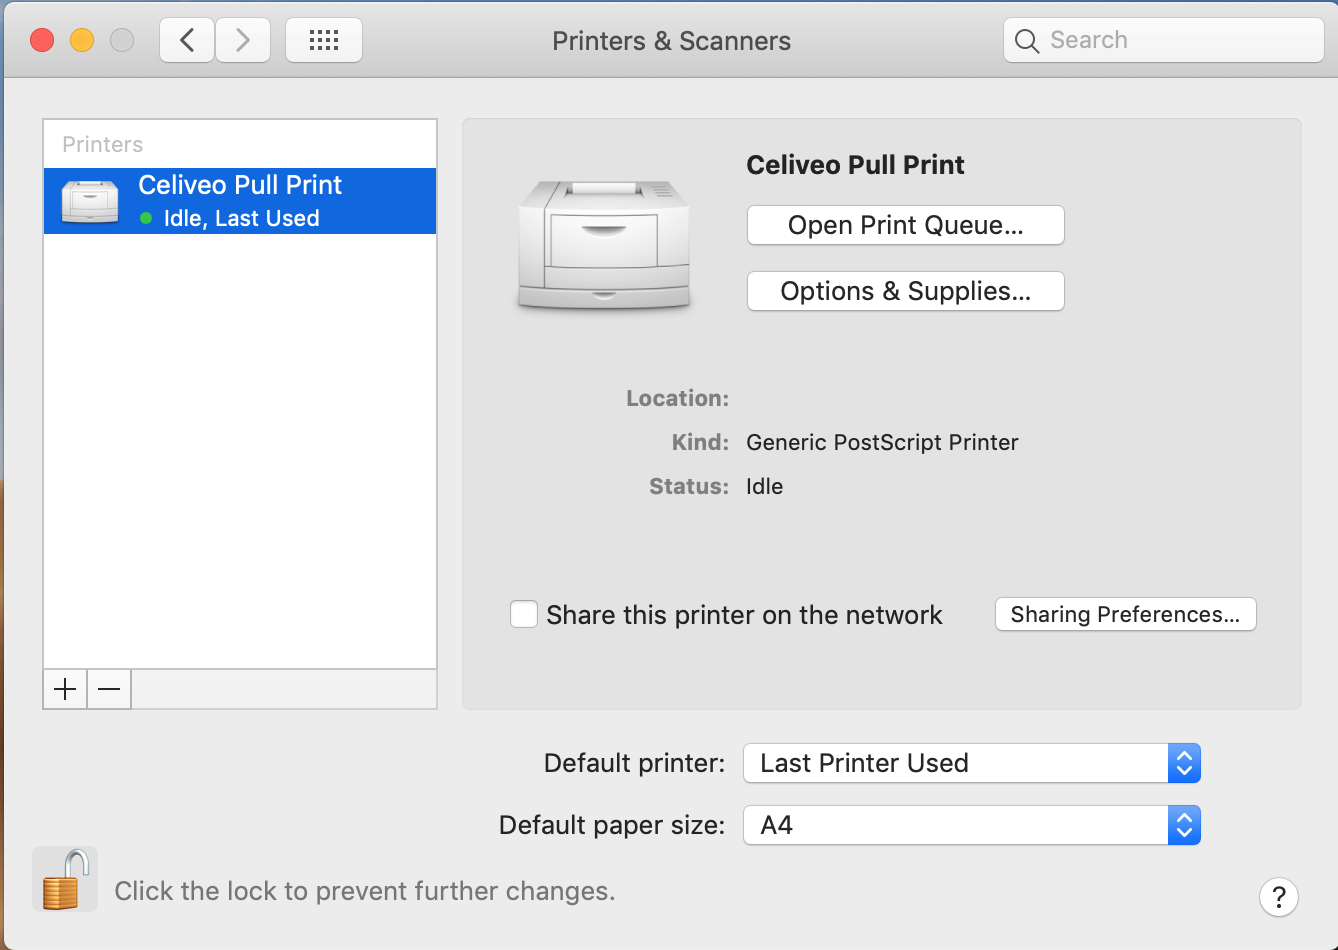
- The Celiveo pull print queue is now added.
![]()
Uninstall the Celiveo Virtual Printer from macOS machine
Celiveo Virtual Printer can be removed using the Uninstall executable file provided in the deployment package.
- On the user machine, launch the [Uninstall]. The installation wizard opens up.
- Continue with the instructions given on the installation wizard till the un-installation is successful.
All binaries will be removed from the Install folder.
Post your comment on this topic.