
- Double click the Celiveo Web-Admin icon on the desktop (
![]() ). The initial logon screen of the Web Admin displays.
). The initial logon screen of the Web Admin displays.
![]()
- Specify admin as both the [User Name] and [Password].
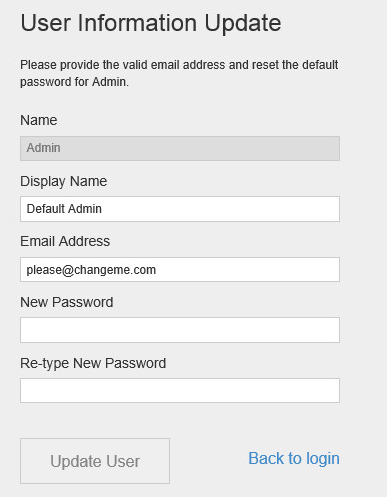
- Click [Login]. The User Information Update screen displays.
![]()
- At [Email Address], specify a valid email address.
- Specify a new password for the Default Admin user account.
- Click [Update User]. The License screen is displayed.
![]()
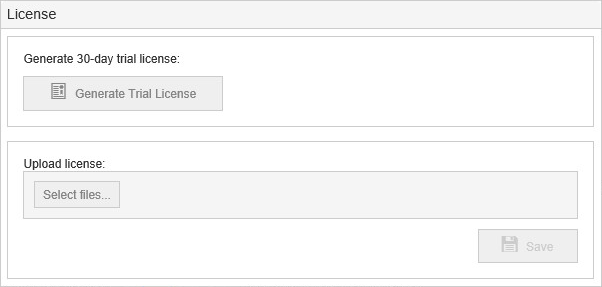
Click [Select File] to upload the license file provided, or click [Generate Trial License] to run as Celiveo Print-Direct for 30 days.
To disable/enable FIPS:
- Log on to Windows Server as a Windows system administrator.
- Click Start.
- Click Control Panel.
- Click Administrative Tools. (You may have to switch to large Icons for the next step.)
- Click Local Security Policy. The Local Security Settings window appears.
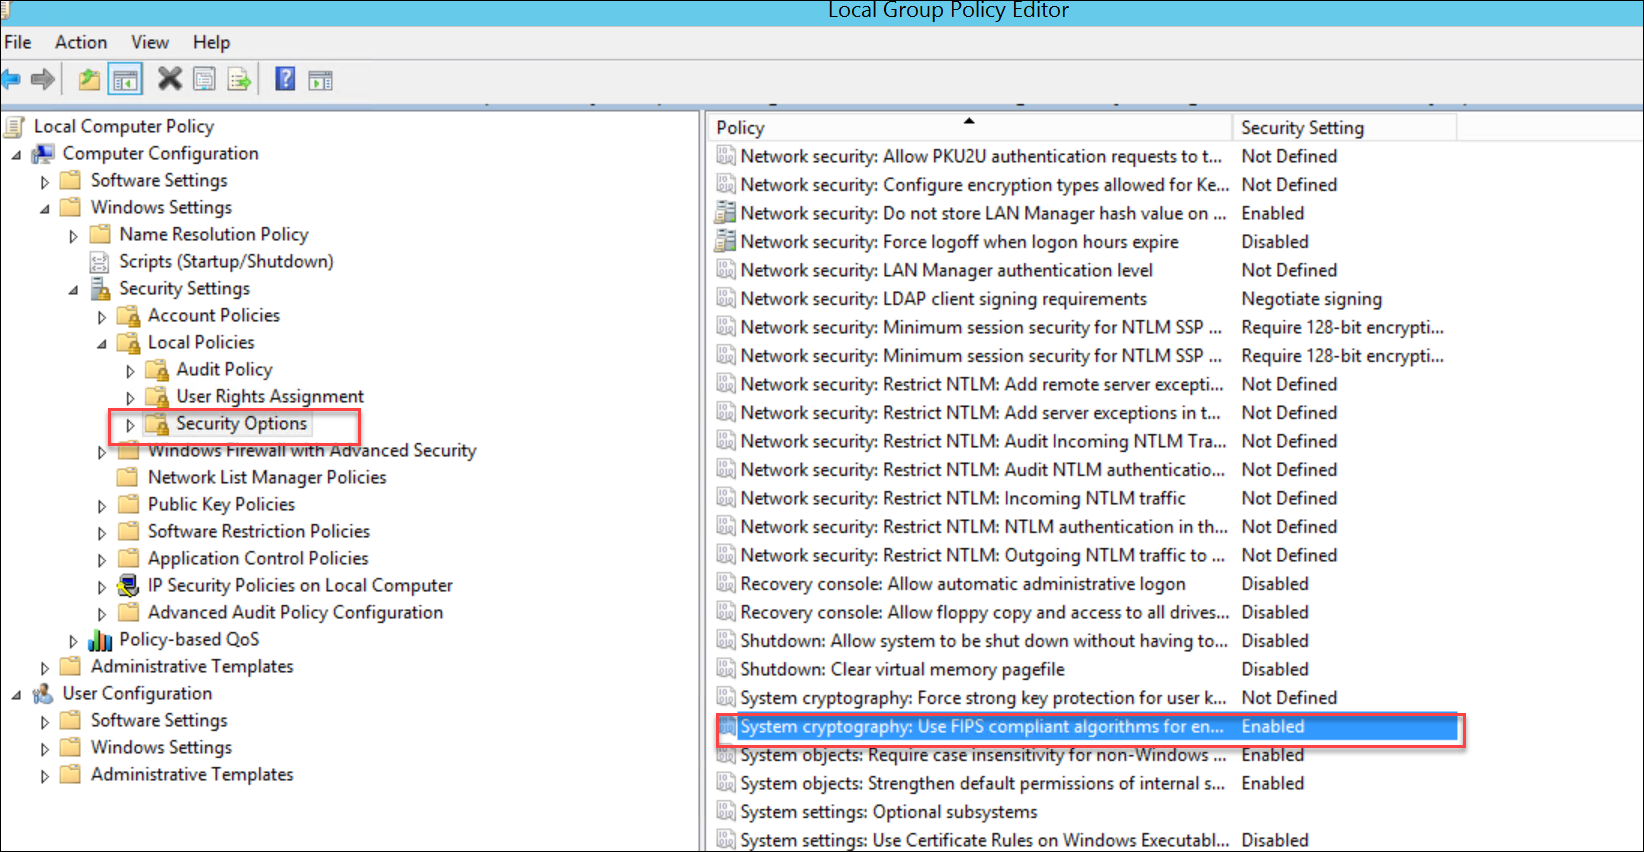
- In the navigation pane, click Local Policies, and then click Security Options.
- In the pane on the right, double-click System cryptography: Use FIPS compliant algorithms for encryption, hashing, and signing.
![]()
- In the dialog box that appears, click Disabled to disable FIPS or Enabled to enable it again, and then click Apply.
- Click OK.
- Close the Local Security Settings window.
- Open the command prompt terminal, enter gpupdate /force, and then reboot the system to apply the modifications. This ensures that policy settings change is applied successfully.
Last modified:
26 February 2021
Post your comment on this topic.