
Creating a Celiveo Shared Virtual Printer (server based pull printing) follows a different procedure for macOS with respect to Windows OS.
Before you begin…
The shared print queue must be created in the Windows Print Server to support macOS printing. For this setting, the print queue on the server must have the pre-processing filter configured.
- On the Print Server, enable LPD Service and LPR Port Monitor. (Enabling these features allows printing to shared printers on this server).
- To do this:
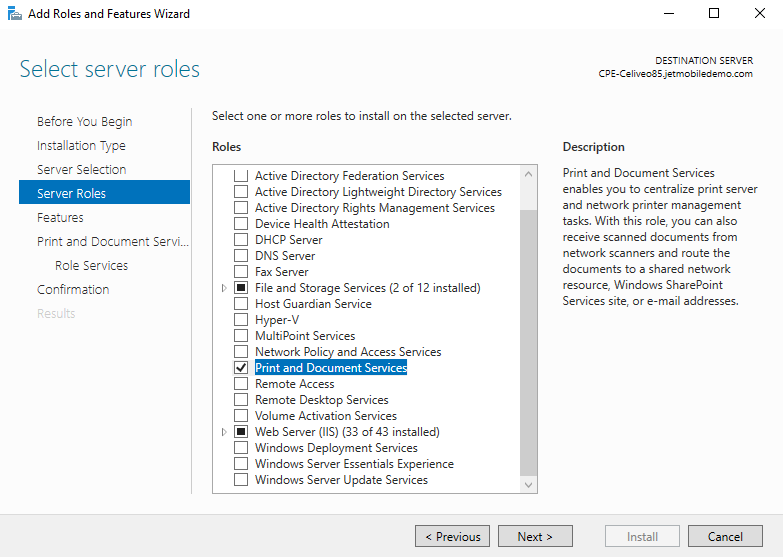
- Go to Add Roles and Features > Server Roles
- Locate and select the Print and Document Services checkbox. Click to display Role Services sub menu.
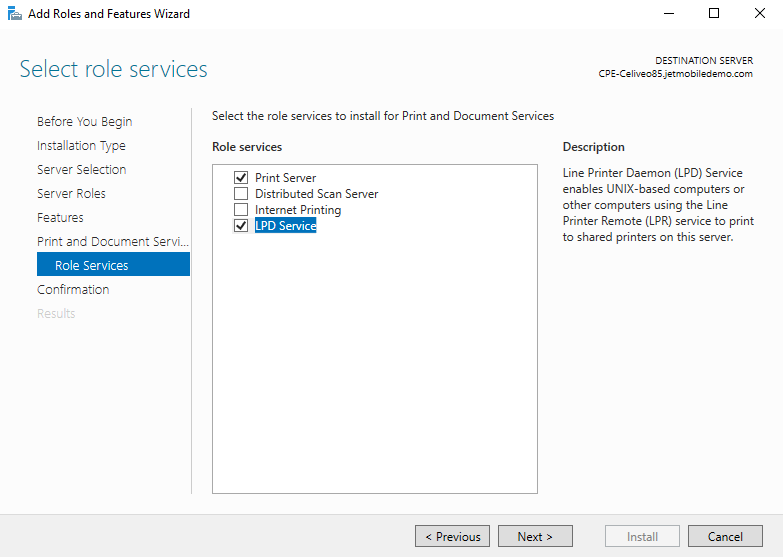
- Select LPD Service checkbox.
![]()
![]()
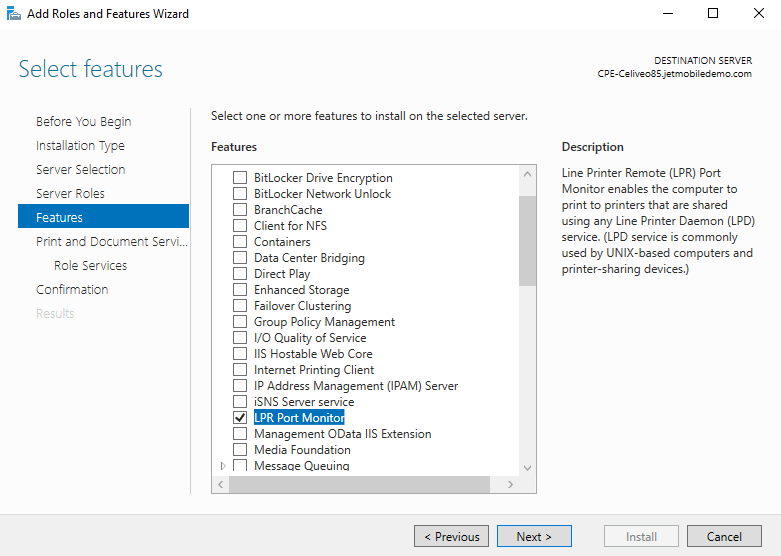
- Click Next. Select LPR Port Monitor under Features.
![]()
- Create a Celiveo Shared Virtual Printer (CSVP) on the Print Server. Refer to the article here on how to deploy and create CSVP on Print Server.
- Go to Printer Properties option of the CSVP.
- Under Celiveo Pull Printing tab, set the Preprocessing filter depending on the Username format sent by the host machine.
![]()

Connect to CSVP from macOS machine
Follow the below steps to add a server based Celiveo print queue on macOS machine:
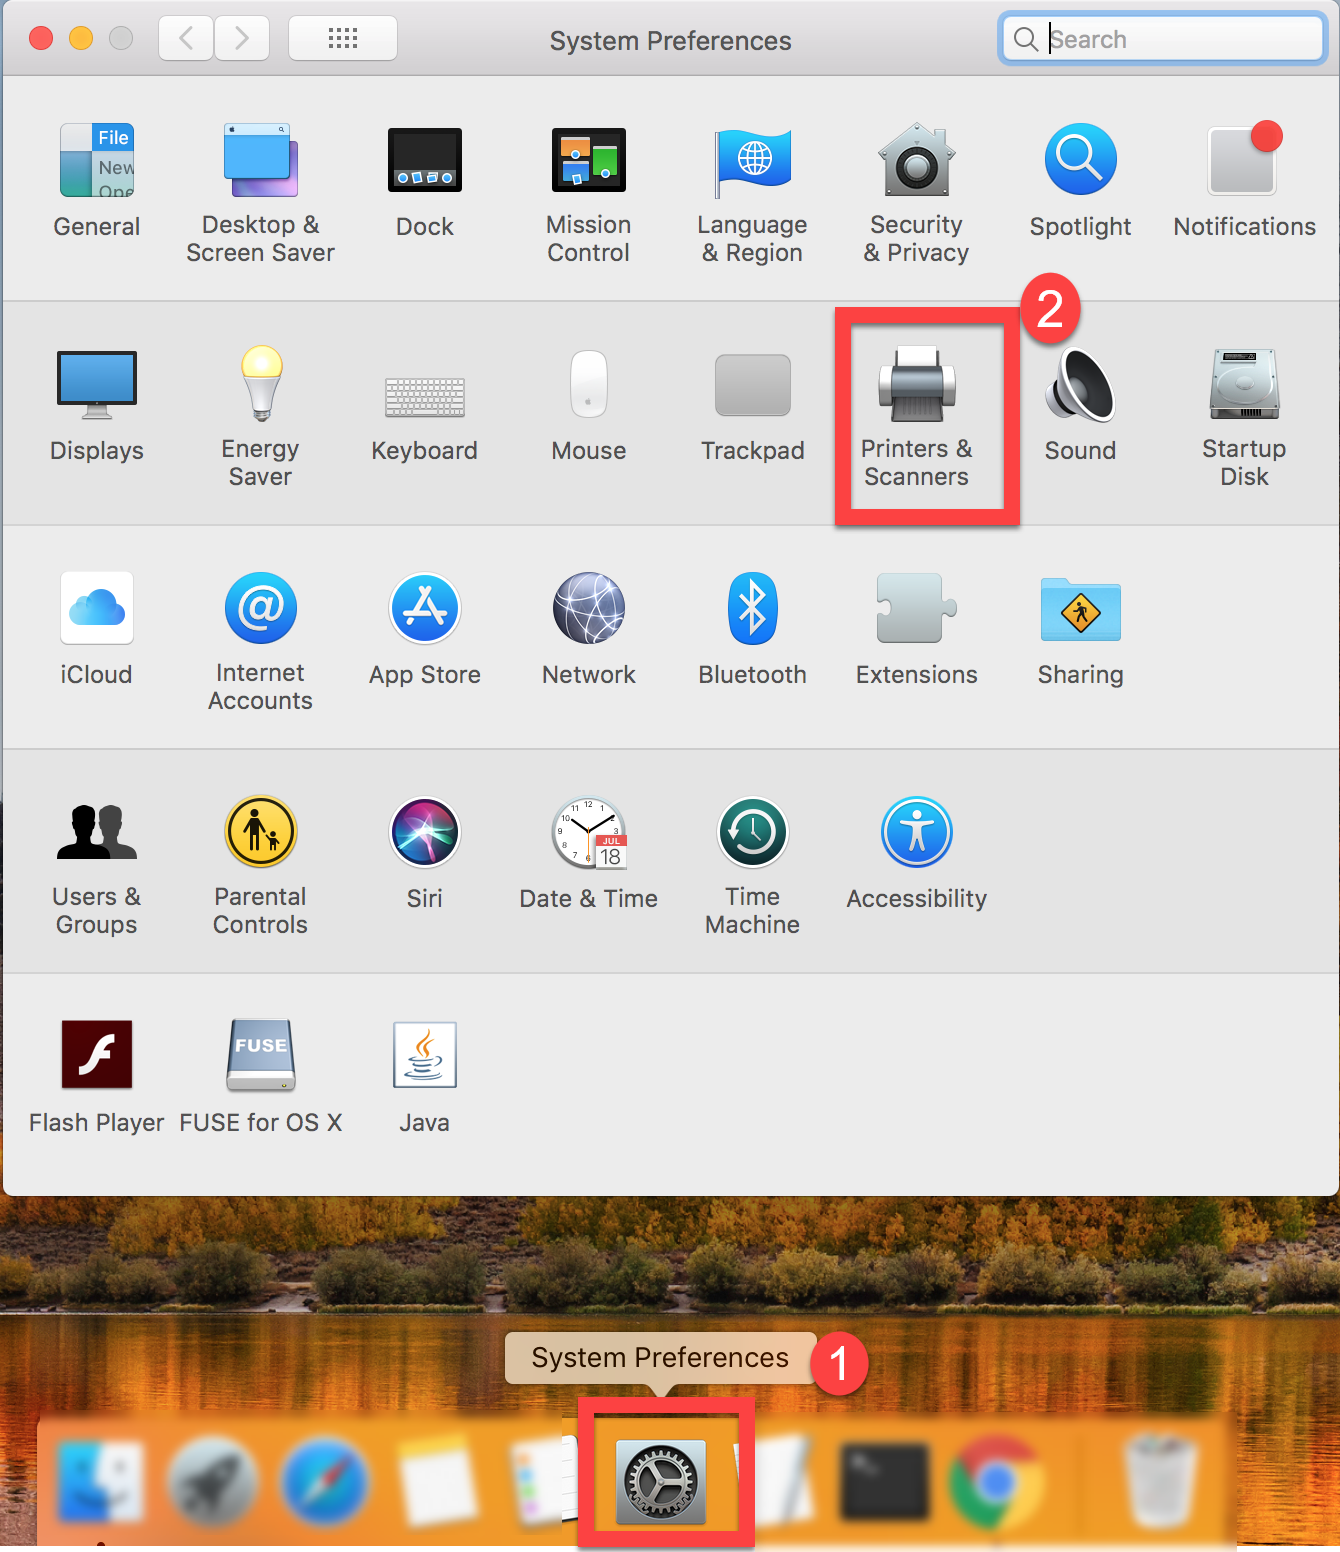
- In your macOS device, go to System Preference.
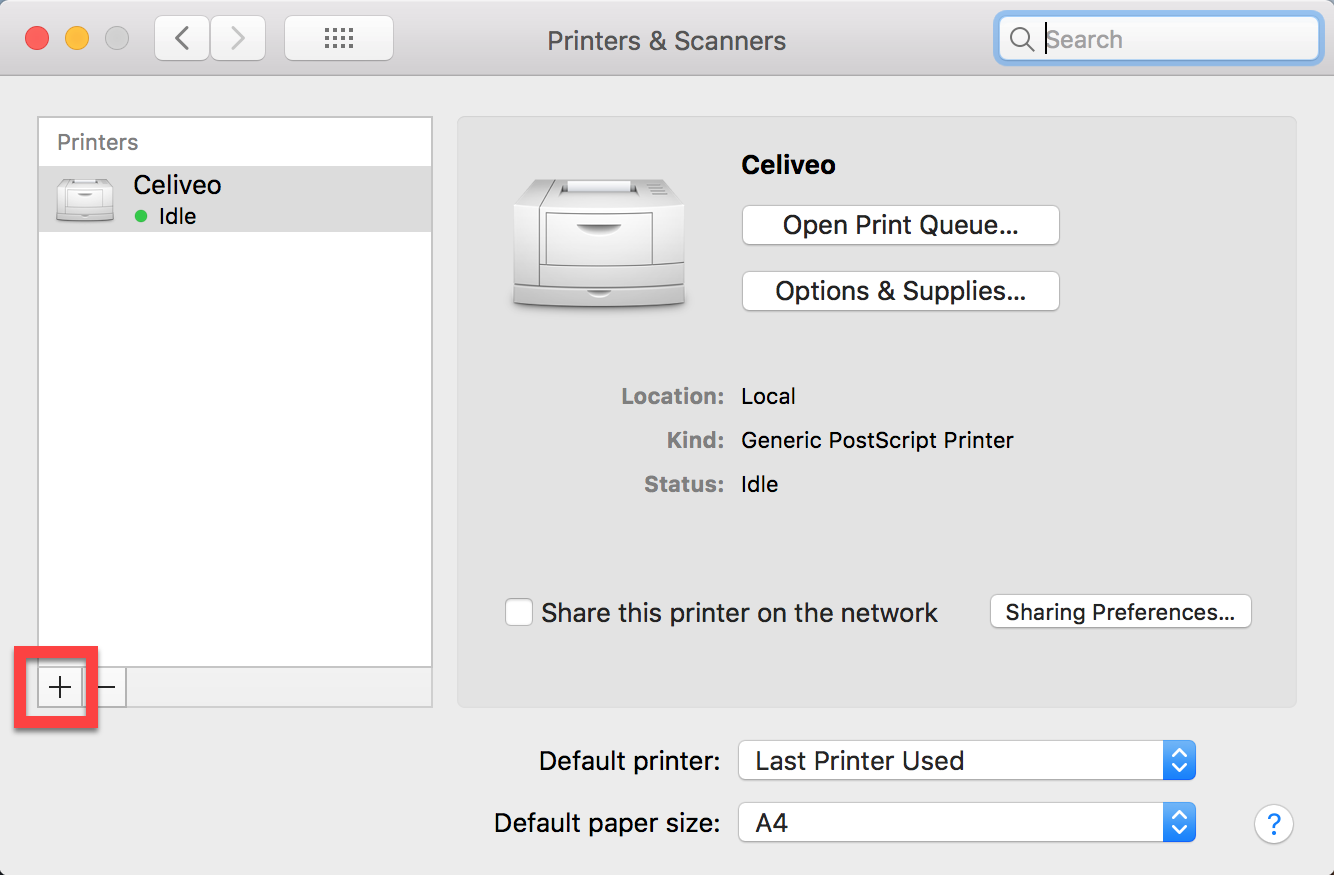
- Click Printers and Scanners.
![]()
- Click the [+] sign to add new printer.
![]()
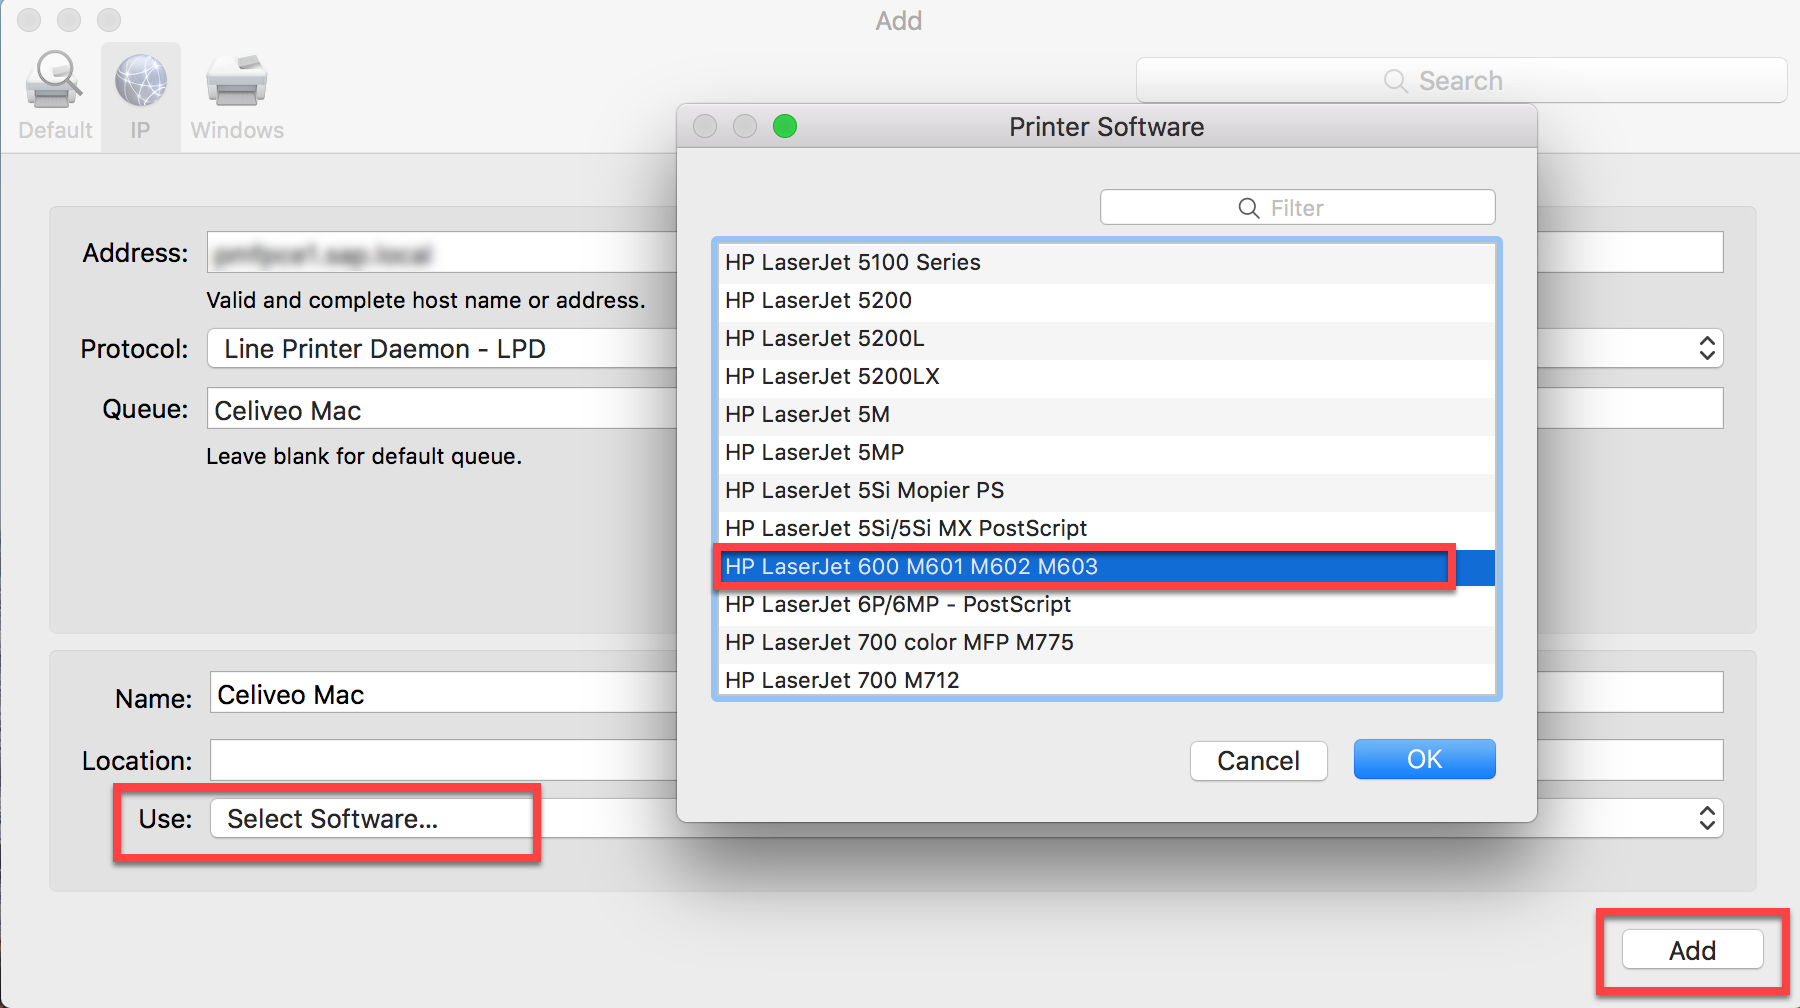
Using IP tab:
- Go to IP tab and fill the settings as mentioned in the screenshot below.
![]()
- Click Use and choose Select Software.
- Choose the desired printer driver, and click OK.
- Then, click Add.
![]()
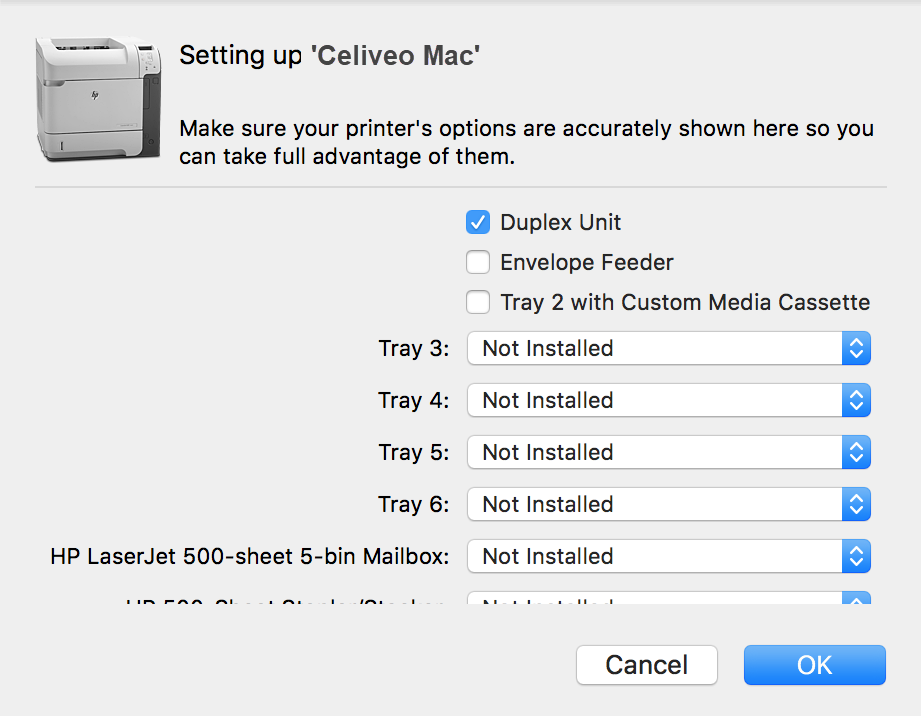
- Check the Duplex Unit and any Trays if one or more printers have additional trays.
- Click OK.
![]()

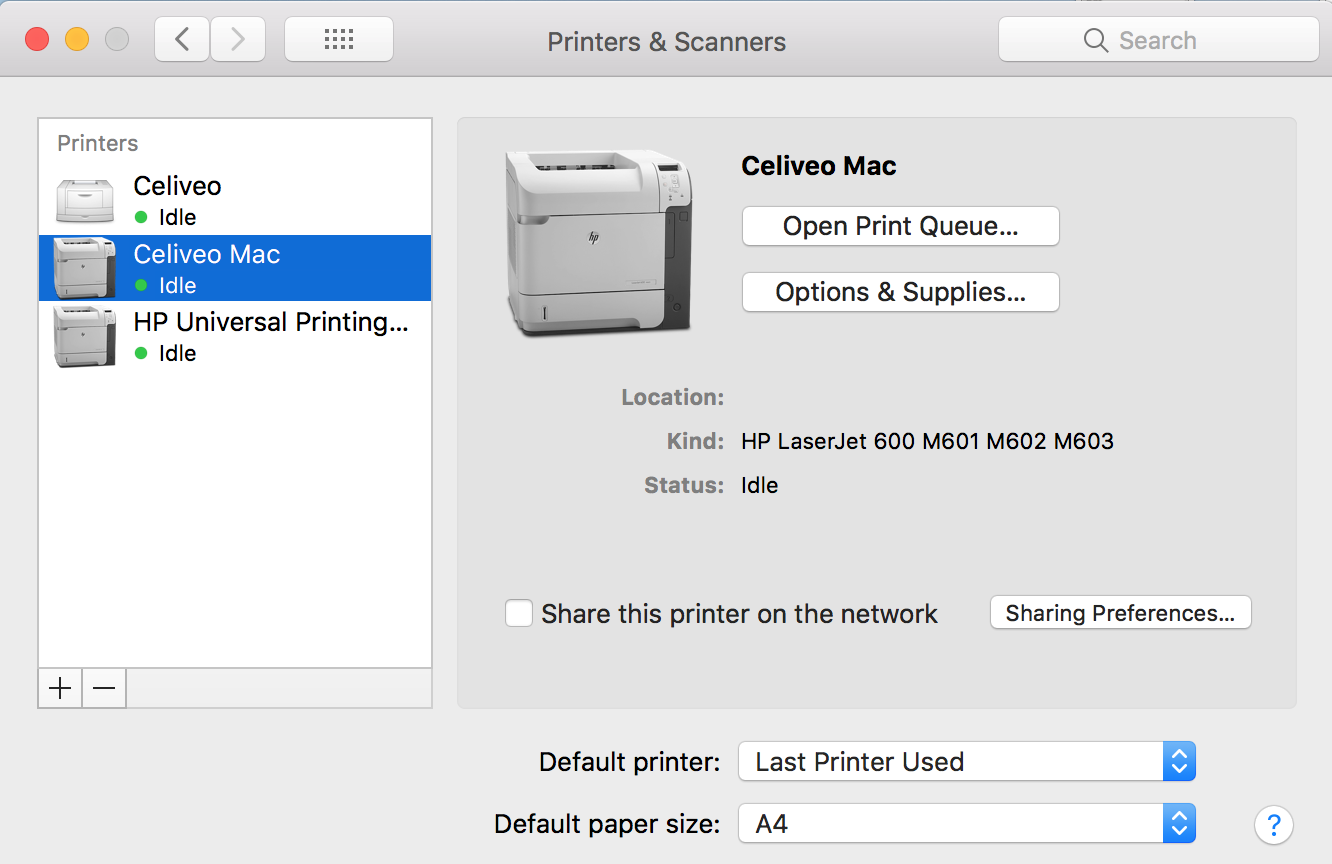
The Celiveo print queue is now added.
Using Windows tab:
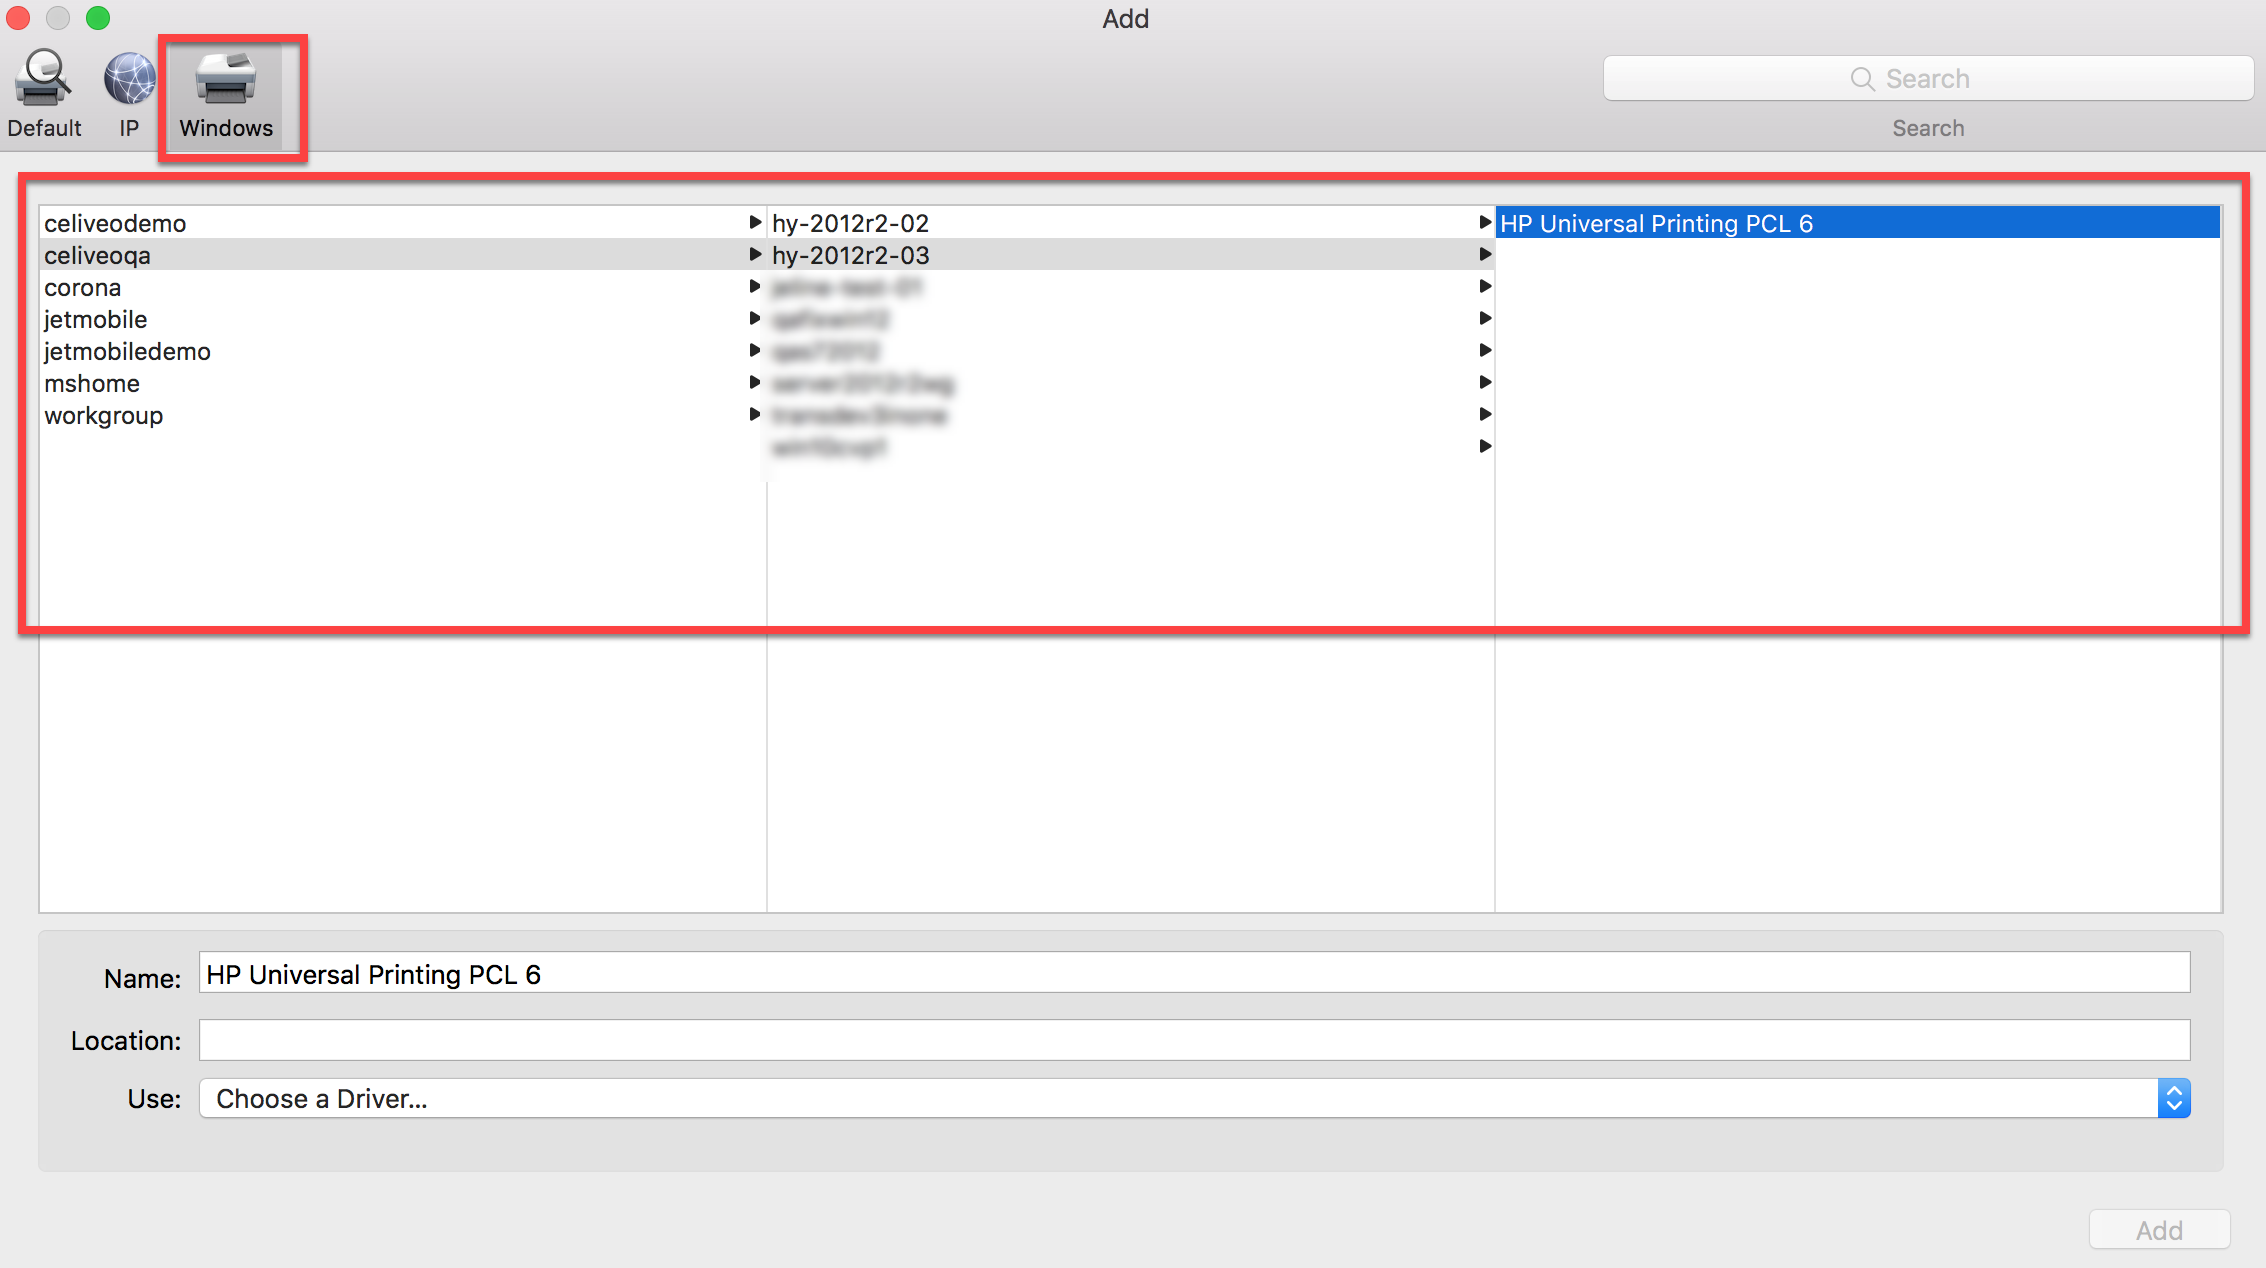
- Select Windows tab.
![]()
- Select the Domain name > Print Server name > Celiveo Shared Virtual Printer as shown in the screen above.
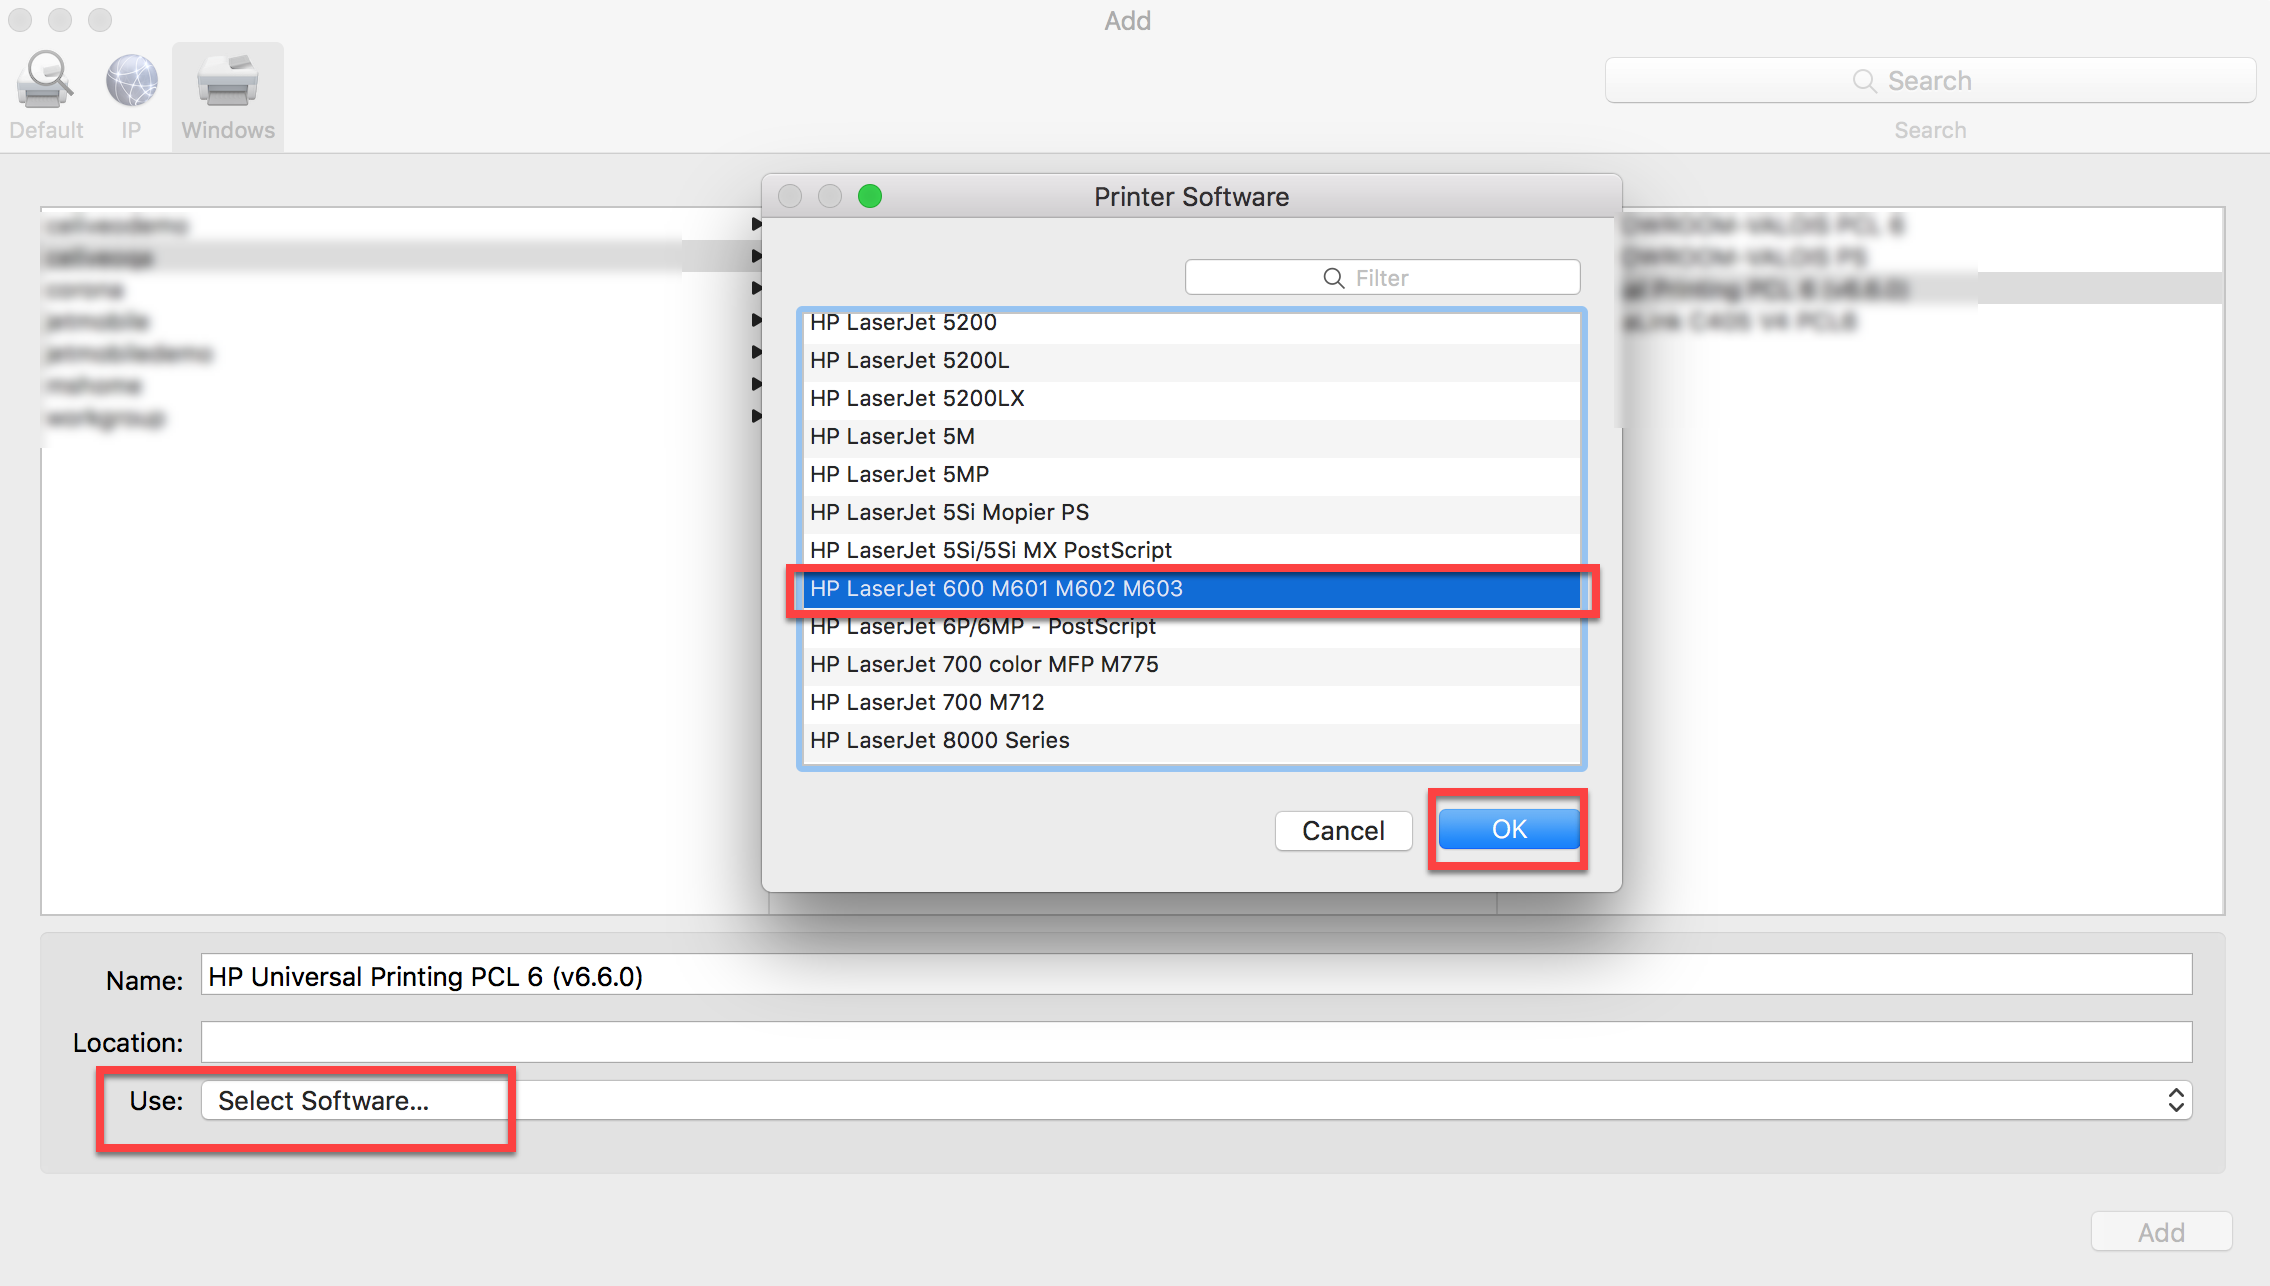
- Click Use and choose Select Software.
- Select the desired Printer Driver and click OK.
![]()
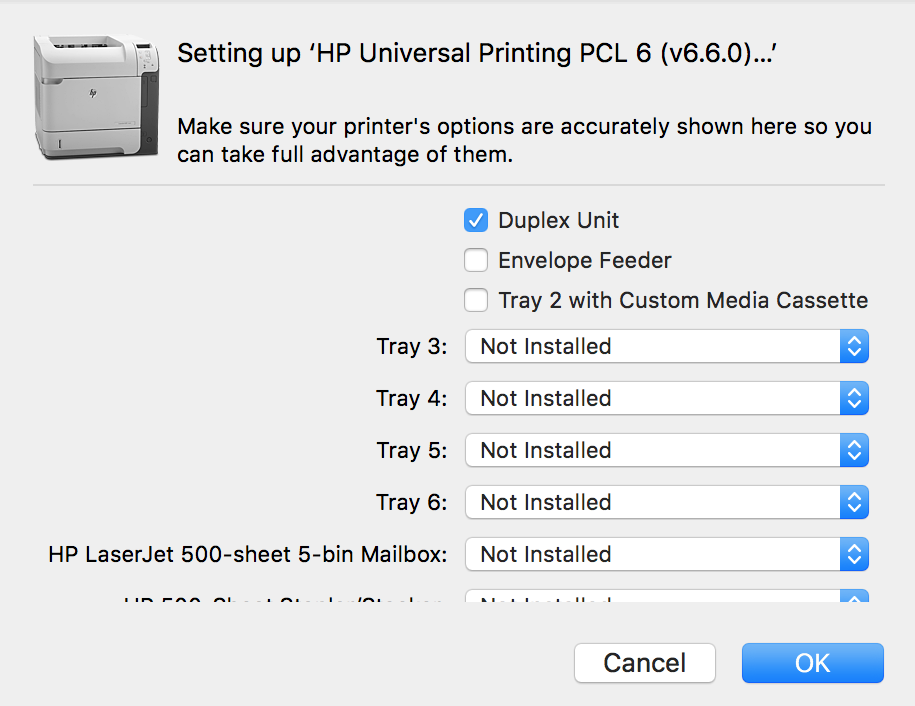
- Then, click Add.
- Check Duplex Unit and any Trays if one or more printers have additional trays.
- Click OK.
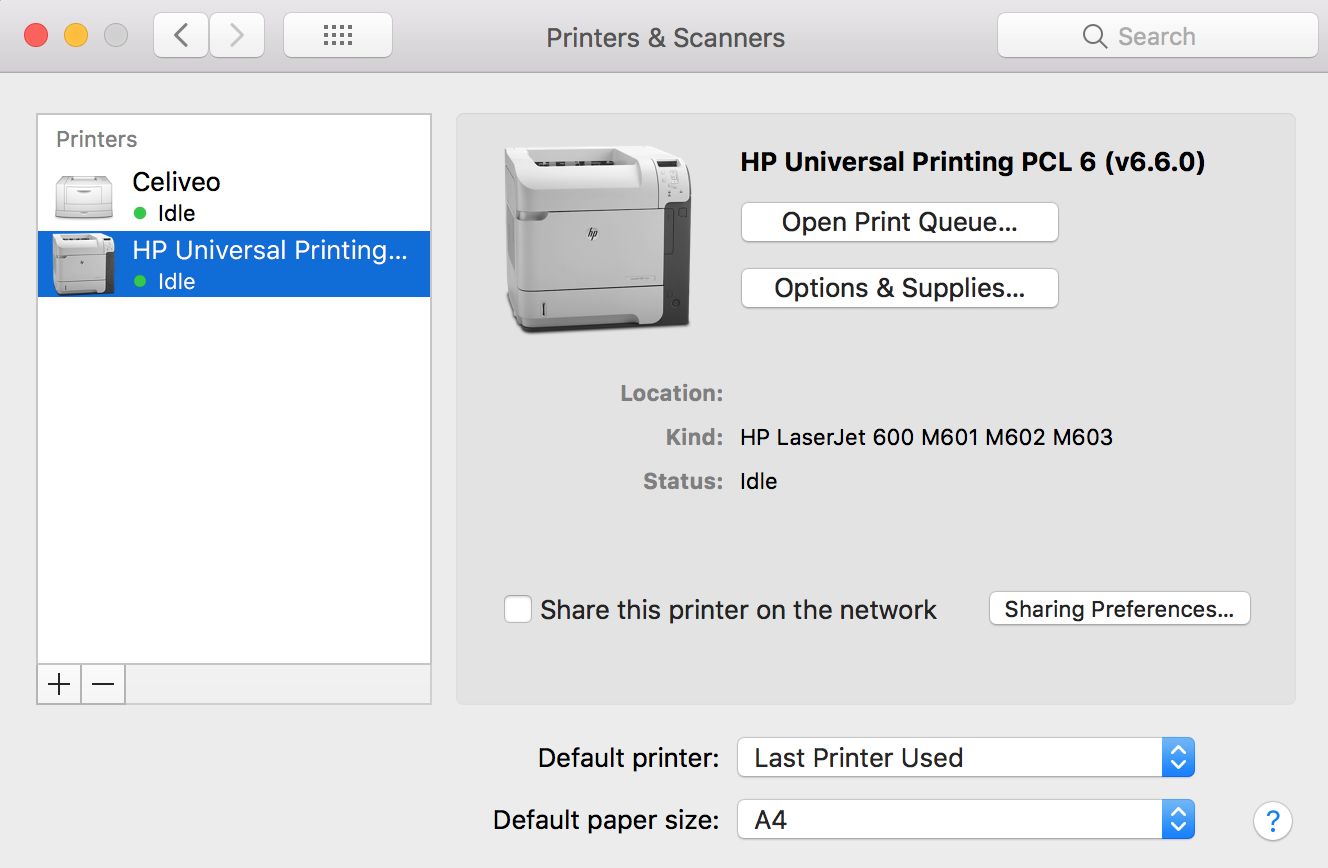
![]()
The Celiveo pull print queue is now added.
Last modified:
4 March 2022
Post your comment on this topic.