What is a Celiveo Virtual Printer (CVP)?
The CVP is a module that is deployed on a user’s workstation, which enables a user to print directly to a printer, subject to rules based printing and usage reporting. On the Web Admin, you add a Celiveo Virtual Printer (CVP), and generate a deployment package. Later on, you install deployment package on the user’s workstation.
Workflow


Start the Add Printer Wizard
- At the Main menu, click
.
- At the Printer menu, click
.
- At the Add Printer menu, click
. The Add Printer Wizard starts.
Specify Virtual Printer Options
- Specify a name for the CVP deployment package.
During the final stage, the Add Printer wizard generates and downloads a deployment package using the name you provide. Subsequently, you can install the deployment package on a user’s workstation.
- Click [Next>]. The next page displays.
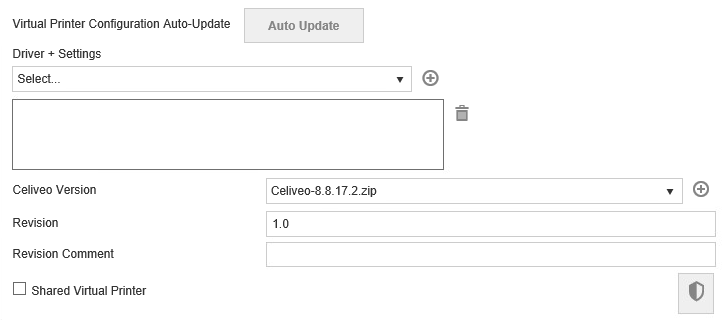
- Click [Auto Update] to enable automatic update of Virtual printer settings. This will synchronize the Driver, Cost Definition Profile, and Access and Rules Profile settings for the virtual printer.
For example, if a printer driver was already installed in the workstation by Celiveo Virtual Printer, then the [Auto-update] option updates the driver settings configuration (if it had been modified); rather than downloading and installing the driver again.
- Choose the Celiveo Version. The latest version will be the listed first by default.
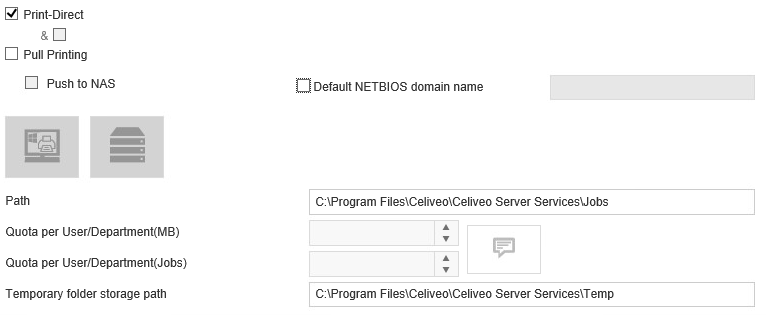
- Select [Print-Direct] and clear [Pull Printing].
- Click [Next>]
Finalize
- Accept the defaults for the next few steps and click [Next>] until the Save Confirmation dialog displays.
- Ensure that the option for downloading the deployment package is selected, and click [Save].
Preserve the downloaded file so that you can expand it and deploy it on a Print Server. - Please Logout/Login or reboot the machine to complete the installation.
Tip: You can download the deployment package later, by selecting the CVP in Web Admin, and clicking .
Last modified:
16 June 2021


Post your comment on this topic.