
![]()
What are Quotas?
Print Quotas are used to control and reduce print costs by restricting users’ prints to a certain cost or a certain number.
Quotas are supported as follows, depending on the serverless or server-based print flow:
- Serverless print flow (using a Celiveo Virtual Printer, CVP):
User individual quota
OU/group quota shared by individual users
Combination of both types of quota for one user
- Server-based print flow (using a Celiveo Shared Virtual Printer, CSVP):
User individual quota
This difference is due to the inability to query Active Directory fast enough for each print job within the Windows Print spooler without potentially creating a significant bottleneck with stability side-effects.
You can define the quota settings to be applied to domain users.
Important note: Usage quota rules only apply for CVP, not for CSVP (shared virtual printer).
To access the Quotas section:
- On the Web Admin home page, click the Tracking/Reporting icon
![]() .
.
The Quotas rules list is displayed.
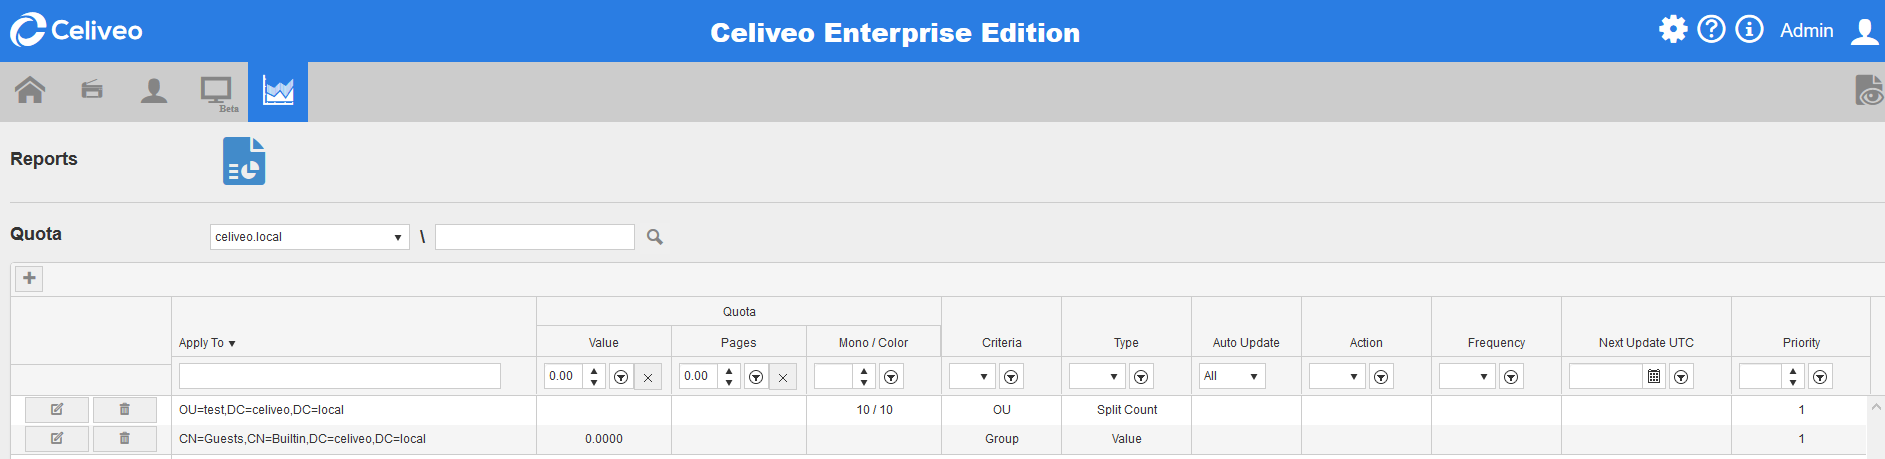
You can sort the existing rules in the list using either search fields, filters or drop-down lists:
The objective of this search area is to find a specific user and check if this user has assigned quota either by the process of OU/Group or User directly.
To create a quota rule:
- Click on the
![]() icon.
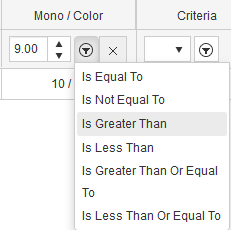
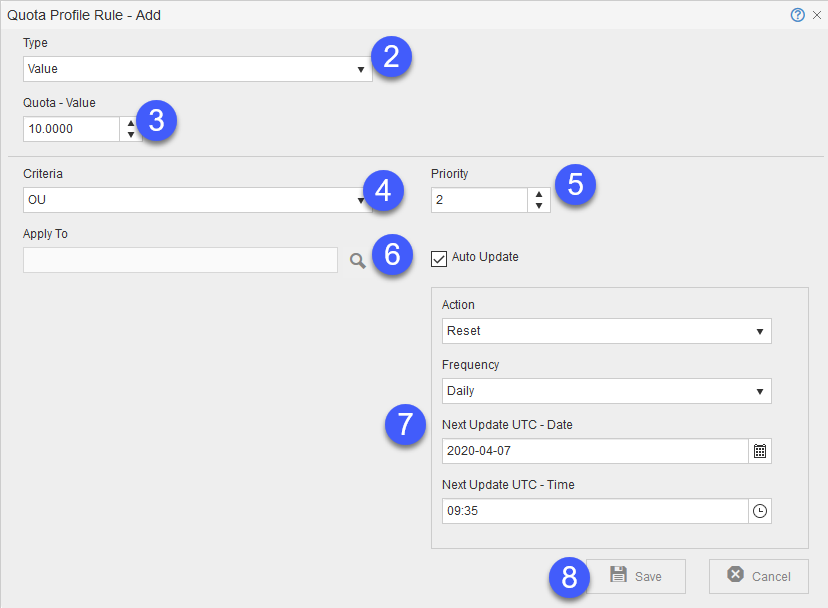
icon. - In the drop-down list, select Value, to limit usage by the cost of printed pages, Count, to limit usage by the number of printed pages, or Split Count, to limit usage by the number of printed pages, sorted according to black and white or color prints.
- Enter the quota value.
- In the Criteria drop-down list, select what to apply the quota to: User, Group or OU.
- Set the Rule priority
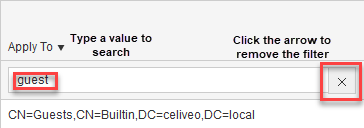
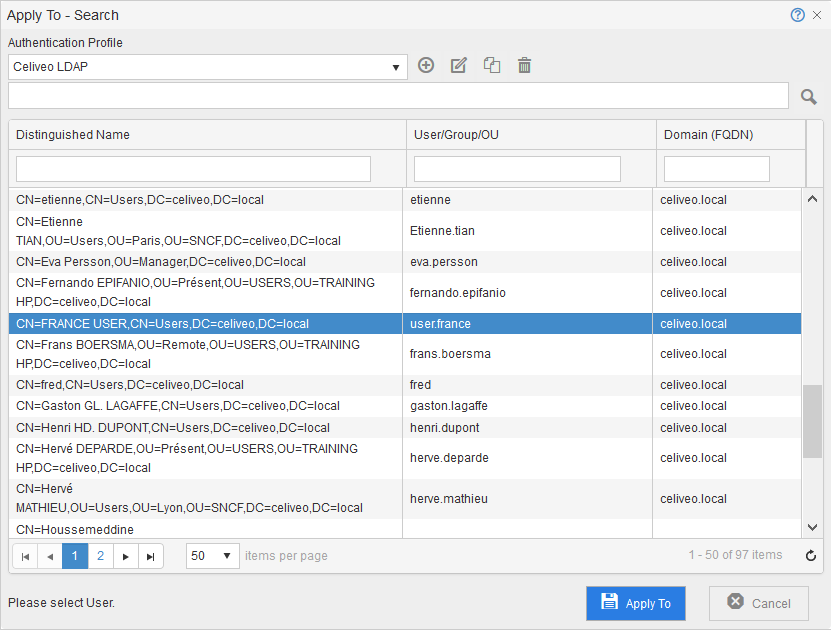
- Click the Search button next to the Apply to field to select the User, Group or OU to apply the rule to.
- Select an Authentication profile or click the
![]() icon to add one.
icon to add one. - Click the Search button next to display all Users/Groups/OUs in the authentication profile, according to what was selected in step 4.
- Select a value and click Apply to.
![]()
- Select an Authentication profile or click the
- Check the Auto Update checkbox if you want your rule to be automatically updated on a regular basis.
- In the Action drop-down list, select Reset if you wish the quota to be reset or Add if you want it to be increased.
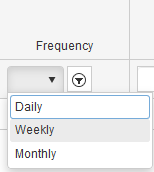
- In the Frequency drop-down list, select how often you want the quota to be updated.
- In the Next Update UTC – Date and Next Update UTC – Time, set the next update date and time.
- Click Save to save the rule.
![]()
- The first time a user authenticates on Celiveo, the user balance is displayed as “0.00” even if this user has quota. This is due to user initialization process. Once the user logs in again, the quota balance is updated to the correct value. For example, when a user reaches a 0 Copy Quota, the copy will continue but at the next login, the quota will be updated and the user will not be able to copy anymore.
- Quota stop rules must match the quota applied to the user otherwise it is not considered.
Example 1:
A credit in number of page is defined for user John Smith, and the MFP he is using has a print rule that contains a usage limit rule based on the credit value. That rule won’t be applied when John Smith uses the MFP.
Example 2:
A credit in a number of pages is defined for user John Smith, and the Celiveo Virtual Printer he is using has a print rule that contains a usage limit rule based on the credit value. That rule won’t be applied when John Smith uses that CVP.
Post your comment on this topic.