
Contents
- Prerequisites
- Configure the printer before installing the Embedded Agent
- Configuring the printer using Web Image Monitor
- Connecting Celiveo Authentication Hardware (Card Reader) to the printer device.
1. Prerequisites
Before you install, make sure these prerequisites are met:
- The printer is connected to an active LAN connection.
- The printer has a fixed IP or DHCP reserved IP address.
- The network allows management by Simple Network Management Protocol (SNMP) v1/v2.
- Enable HTTPS for Ricoh secure access.
- JRE (Java SE Runtime Environment) 8 is installed on the virtual machine where the Celiveo solution (Web Admin) is hosted.
- Non-API Environment: SQL Server is configured to listen to port 1433 for TCP/IP connections.
- API Environment: SQL Server can be configured with using dynamic Port. Click here to download the API Package which to be installed on the same machine as hosted the Web Admin.
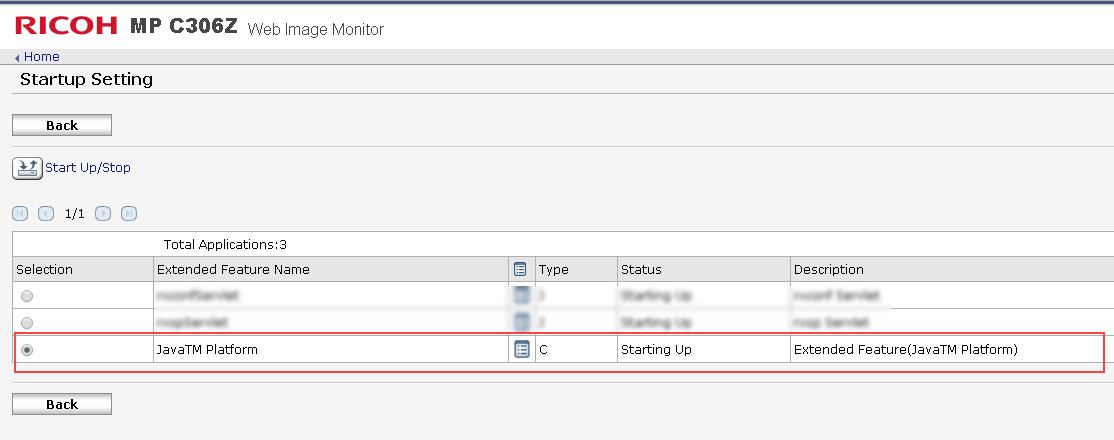
- Java TM platform is enabled on the printer (this is applicable for SOP2.0 Ricoh Models ONLY).
![]()
2. Configure the printer before installing the Embedded Agent
2.1 Configure network settings (IP and DNS settings)
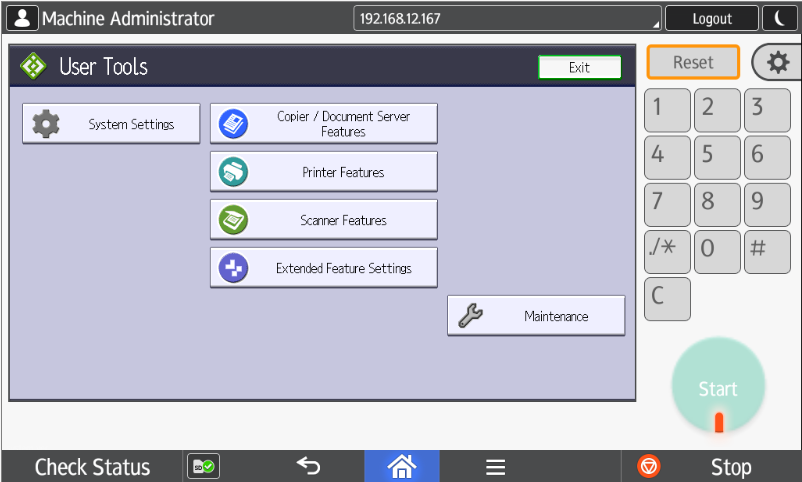
- Press User Tools, then select Machine Features.
![]()
- When prompted, enter a valid username and password.
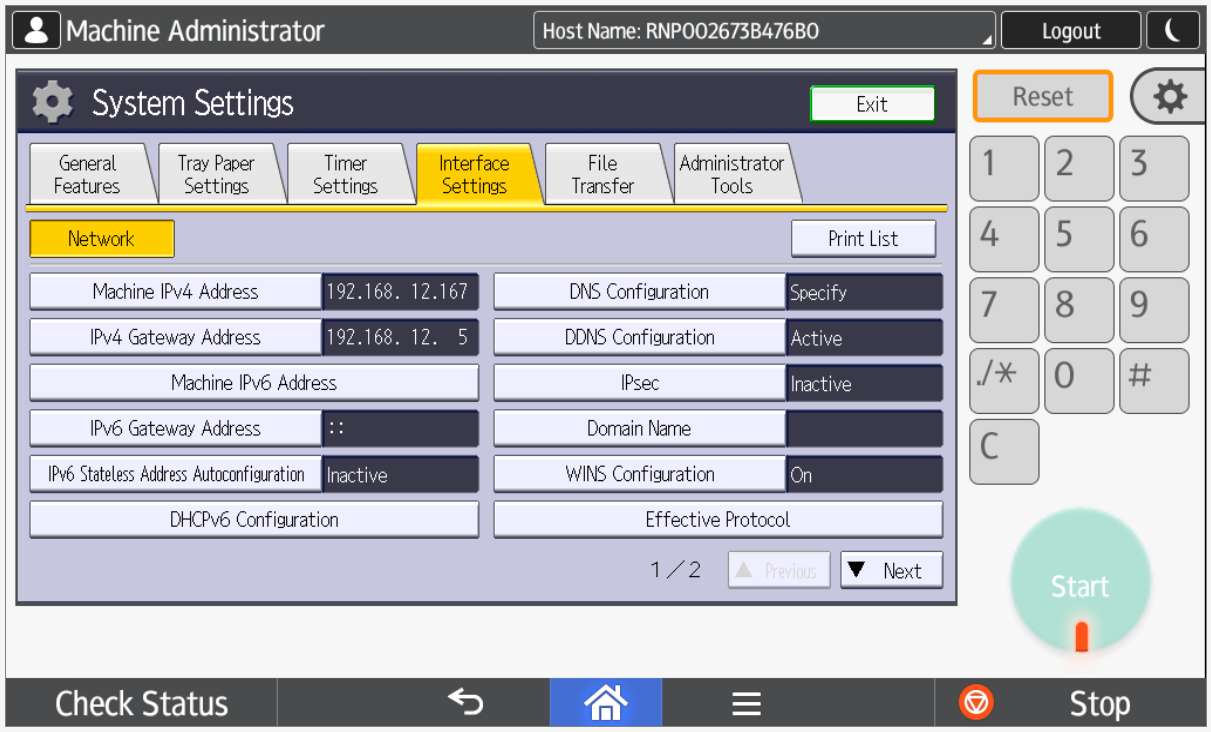
- Choose System Settings and then select Interface Settings tab.
![]()
![]()
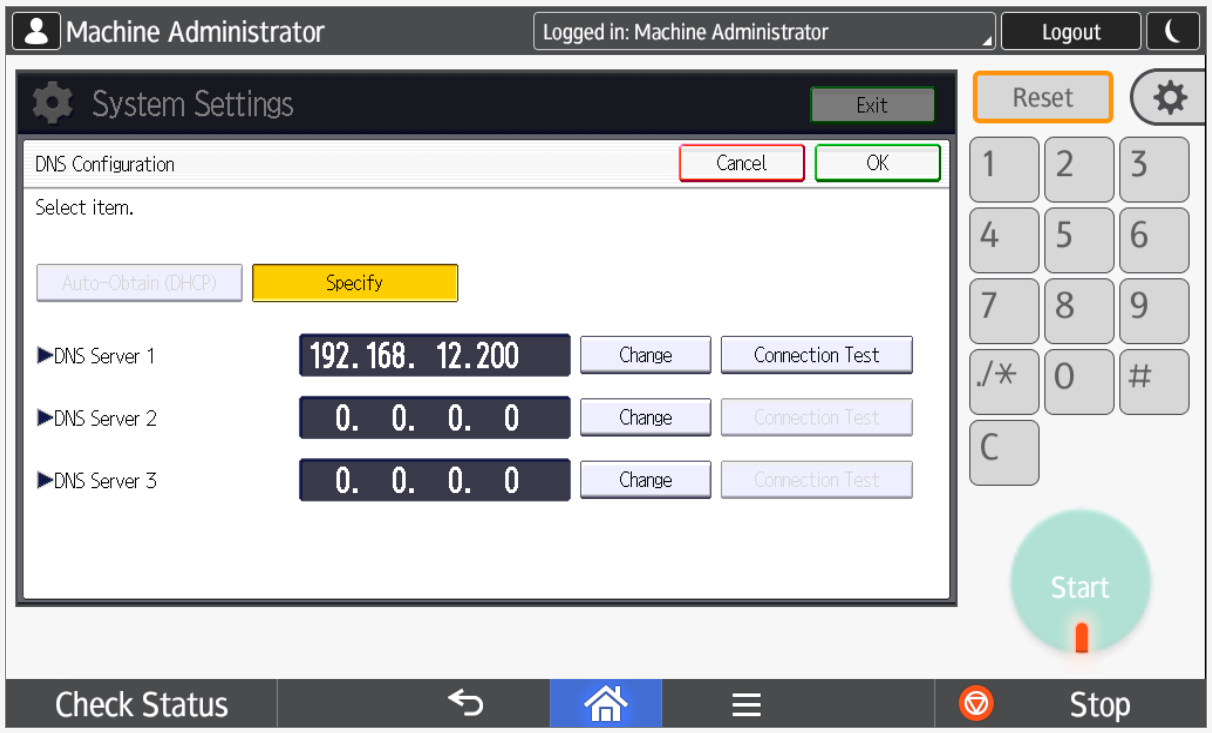
- Press DNS Configuration
- Enter the required DNS settings for your network.
![]()
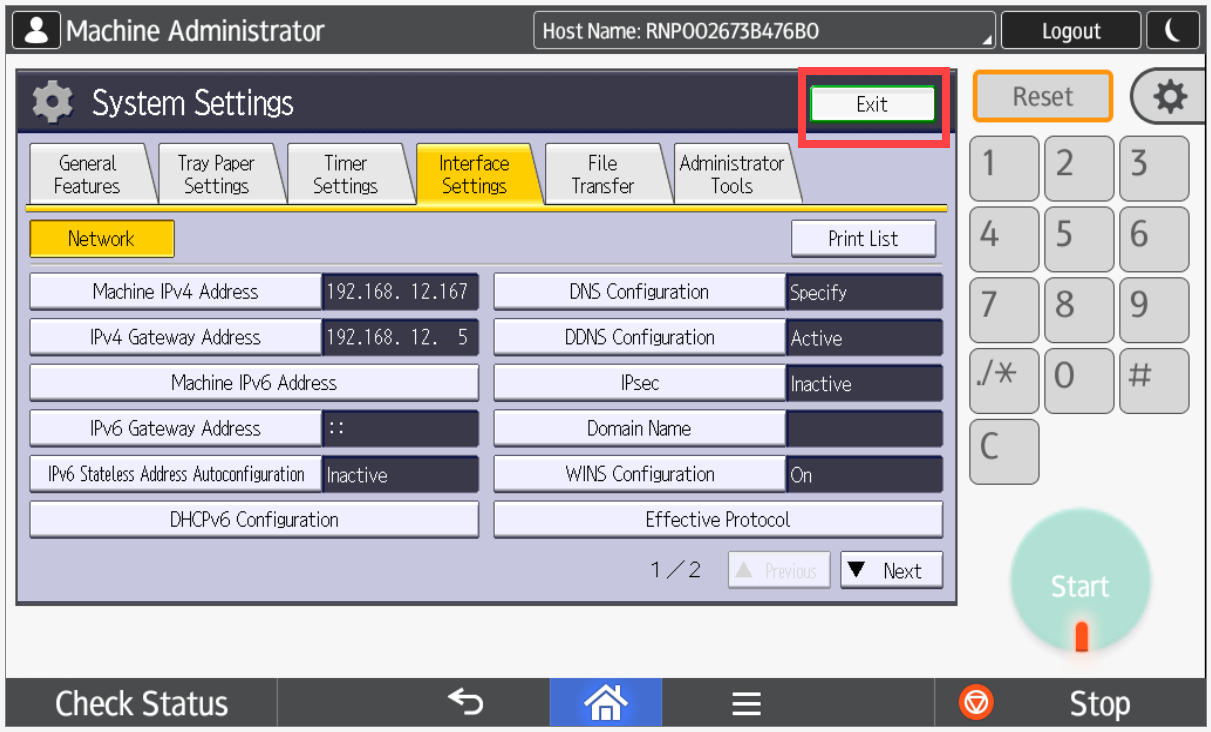
- To apply the settings, press [Exit] button.
![]()


3. Configure Ricoh Android printer through Web Image Monitor
Follow these instructions to configure the Ricoh printer through Web Image Monitor.
3.1 Login to printer
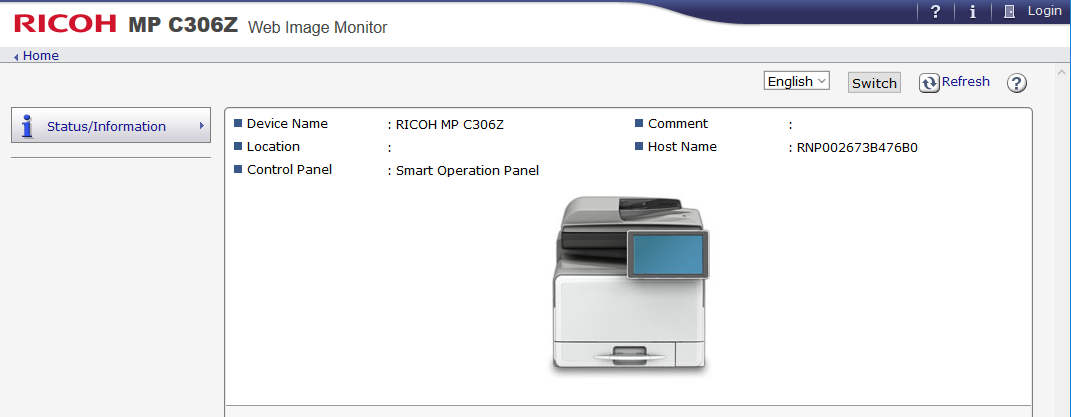
- At the web browser, enter the IP address of the Ricoh printer.
![]()
- On the printer home page, click [Login].
- When prompted, enter a valid administrator username and password.

- Click [Login].
3.2 Enable SSL from Web Image Monitor
- Login to the printer’s Web Image Monitor.
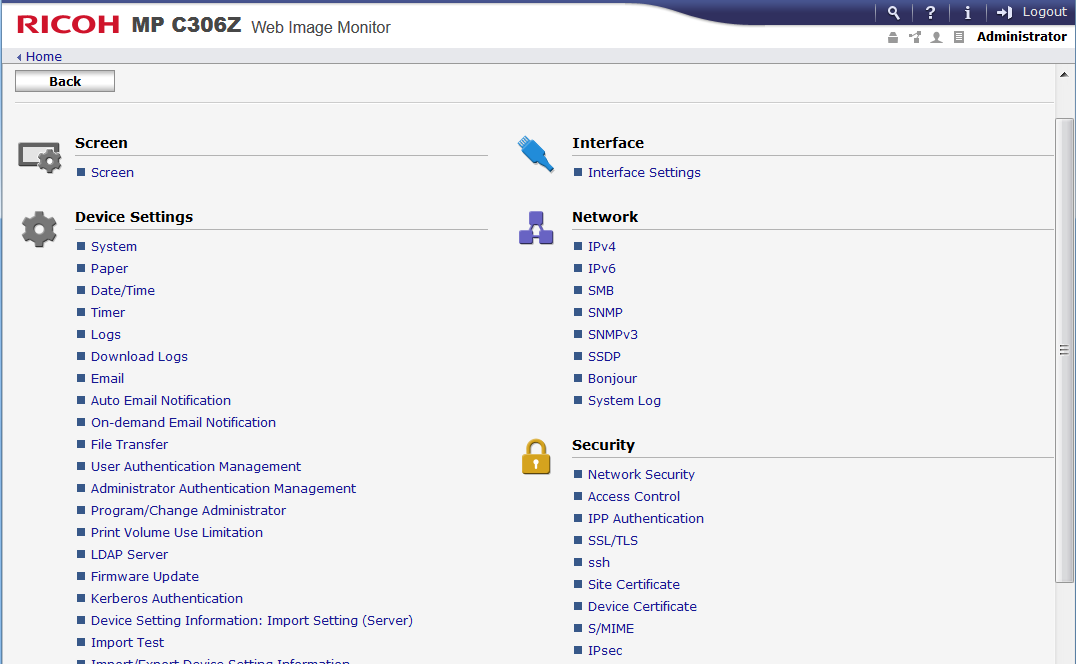
- Go to Device Management > Configuration.
![]()
- To create a device certificate, go to Security > Device Certificate.
![]()
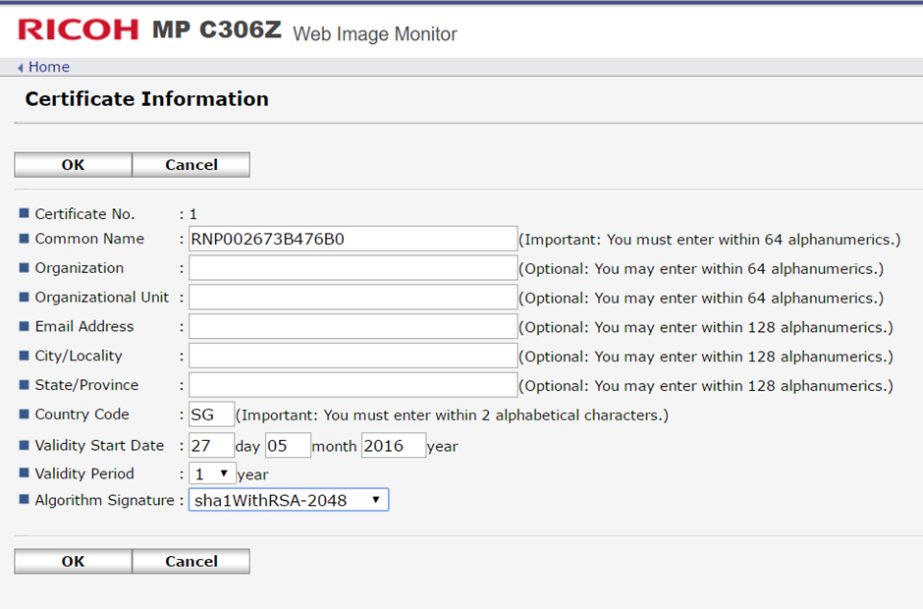
- Select the radio button for Certificate1 and click Create.
- Enter the required information and click OK.
![]()
- Click Home.
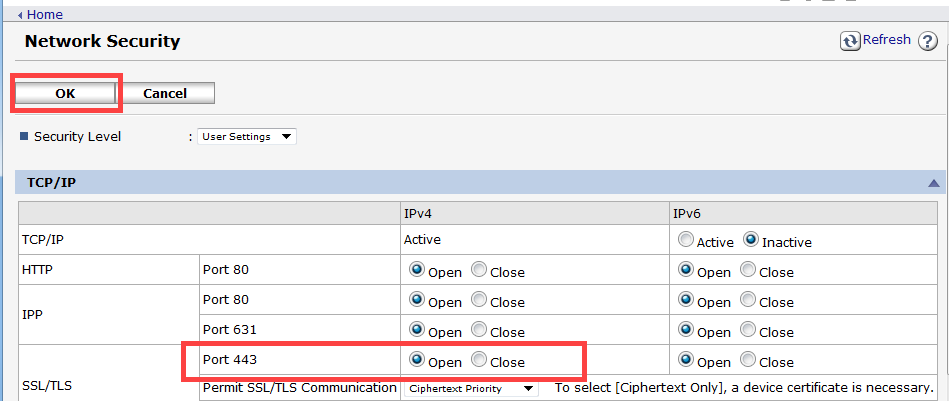
- Go to Device Management > Configuration > Network Security.
- At SSL/TLS – Port 443, select Open. Then click OK.
![]()

4. Connecting Celiveo Authentication Hardware to the Printer device
Celiveo Authentication Hardware refers to the card readers that are used to authenticate users on the device.
These card readers are supported by default; no manual setup is required on the printer:
| Manufacturer | Model | VID/PID |
|---|---|---|
| HID | Omnikey 5427ck | 076b/5428 |
| HID | 076b/5128 | |
| Ricoh supported Reader | 0c27/3bfa | |
| 19e5/0002 | ||
| 0c27/3b24 | ||
| 076b/5427 | ||
| 09D8/0410 |
Configuring additional Vendor ID and Product ID at the Printer
Before connecting the Celiveo Authentication Hardware, you need to configure the Vendor ID and Product ID (VID/ PID) at the printer. This is a one-time configuration.
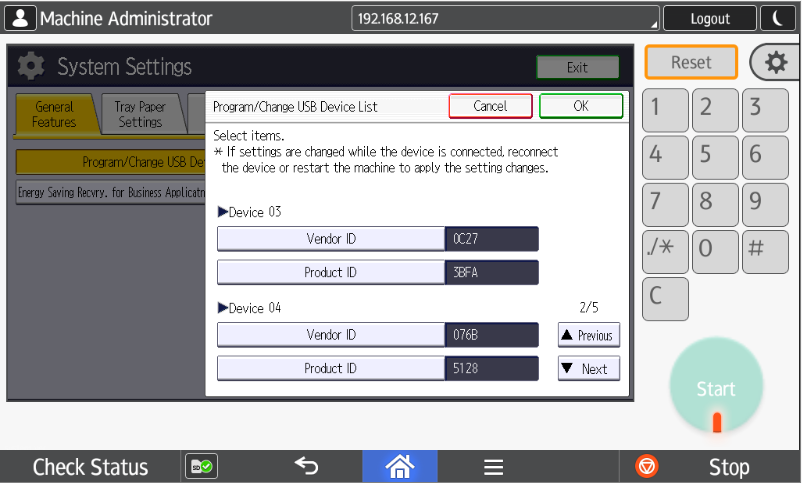
- At the printer panel, login as Machine Administrator.
- Go to System Settings > Program/ Change USB Device List
- Select a Device item and enter the Vendor ID and Product ID
- Click OK to save the settings.
![]()
![]()
![]()

Connect to device
The Celiveo Authentication Hardware can be connected the Ricoh Android printer device using the USB or mini-USB port available near the printer panel. Ricoh recommends to use the mini-USB slot to connect card readers to the printer.
To connect Celiveo Authentication Hardware
- Switch off the device and disconnect the power cable.
- Locate the mini-USB slot connector.
- Connect a USB or mini-USB cable from the Celiveo Authentication Hardware to the mini-USB port on the device.
- Connect the device to the power cable.
- Switch on the device.
Last modified:
9 August 2022
Post your comment on this topic.